
Overland Tech and Travel
Advice from the world's
most experienced overlanders
tests, reviews, opinion, and more
A better Hi-Lift base plate.
Let’s be honest: You can make a perfectly functional base plate for a Hi-Lift jack by gluing together a couple of foot-square pieces of 3/4-inch plywood. If you want to get fancy you can add a third layer of 1/2-inch plywood with a cutout for the jack’s foot, to help stabilize it. This is exactly what I used for years.
However, the plywood got chewed up pretty quickly, and once I used it in mud it started delaminating. So I switched to one of the ubiquitous red plastic bases. It was (and is) an excellent product, and mine has held up through not only personal use but numerous training classes as well.
My only real issue with the red base is its bulk, which is significant if you’re storing it in the back of an FJ40. It takes up an inordinate amount of volume for a single-function implement.
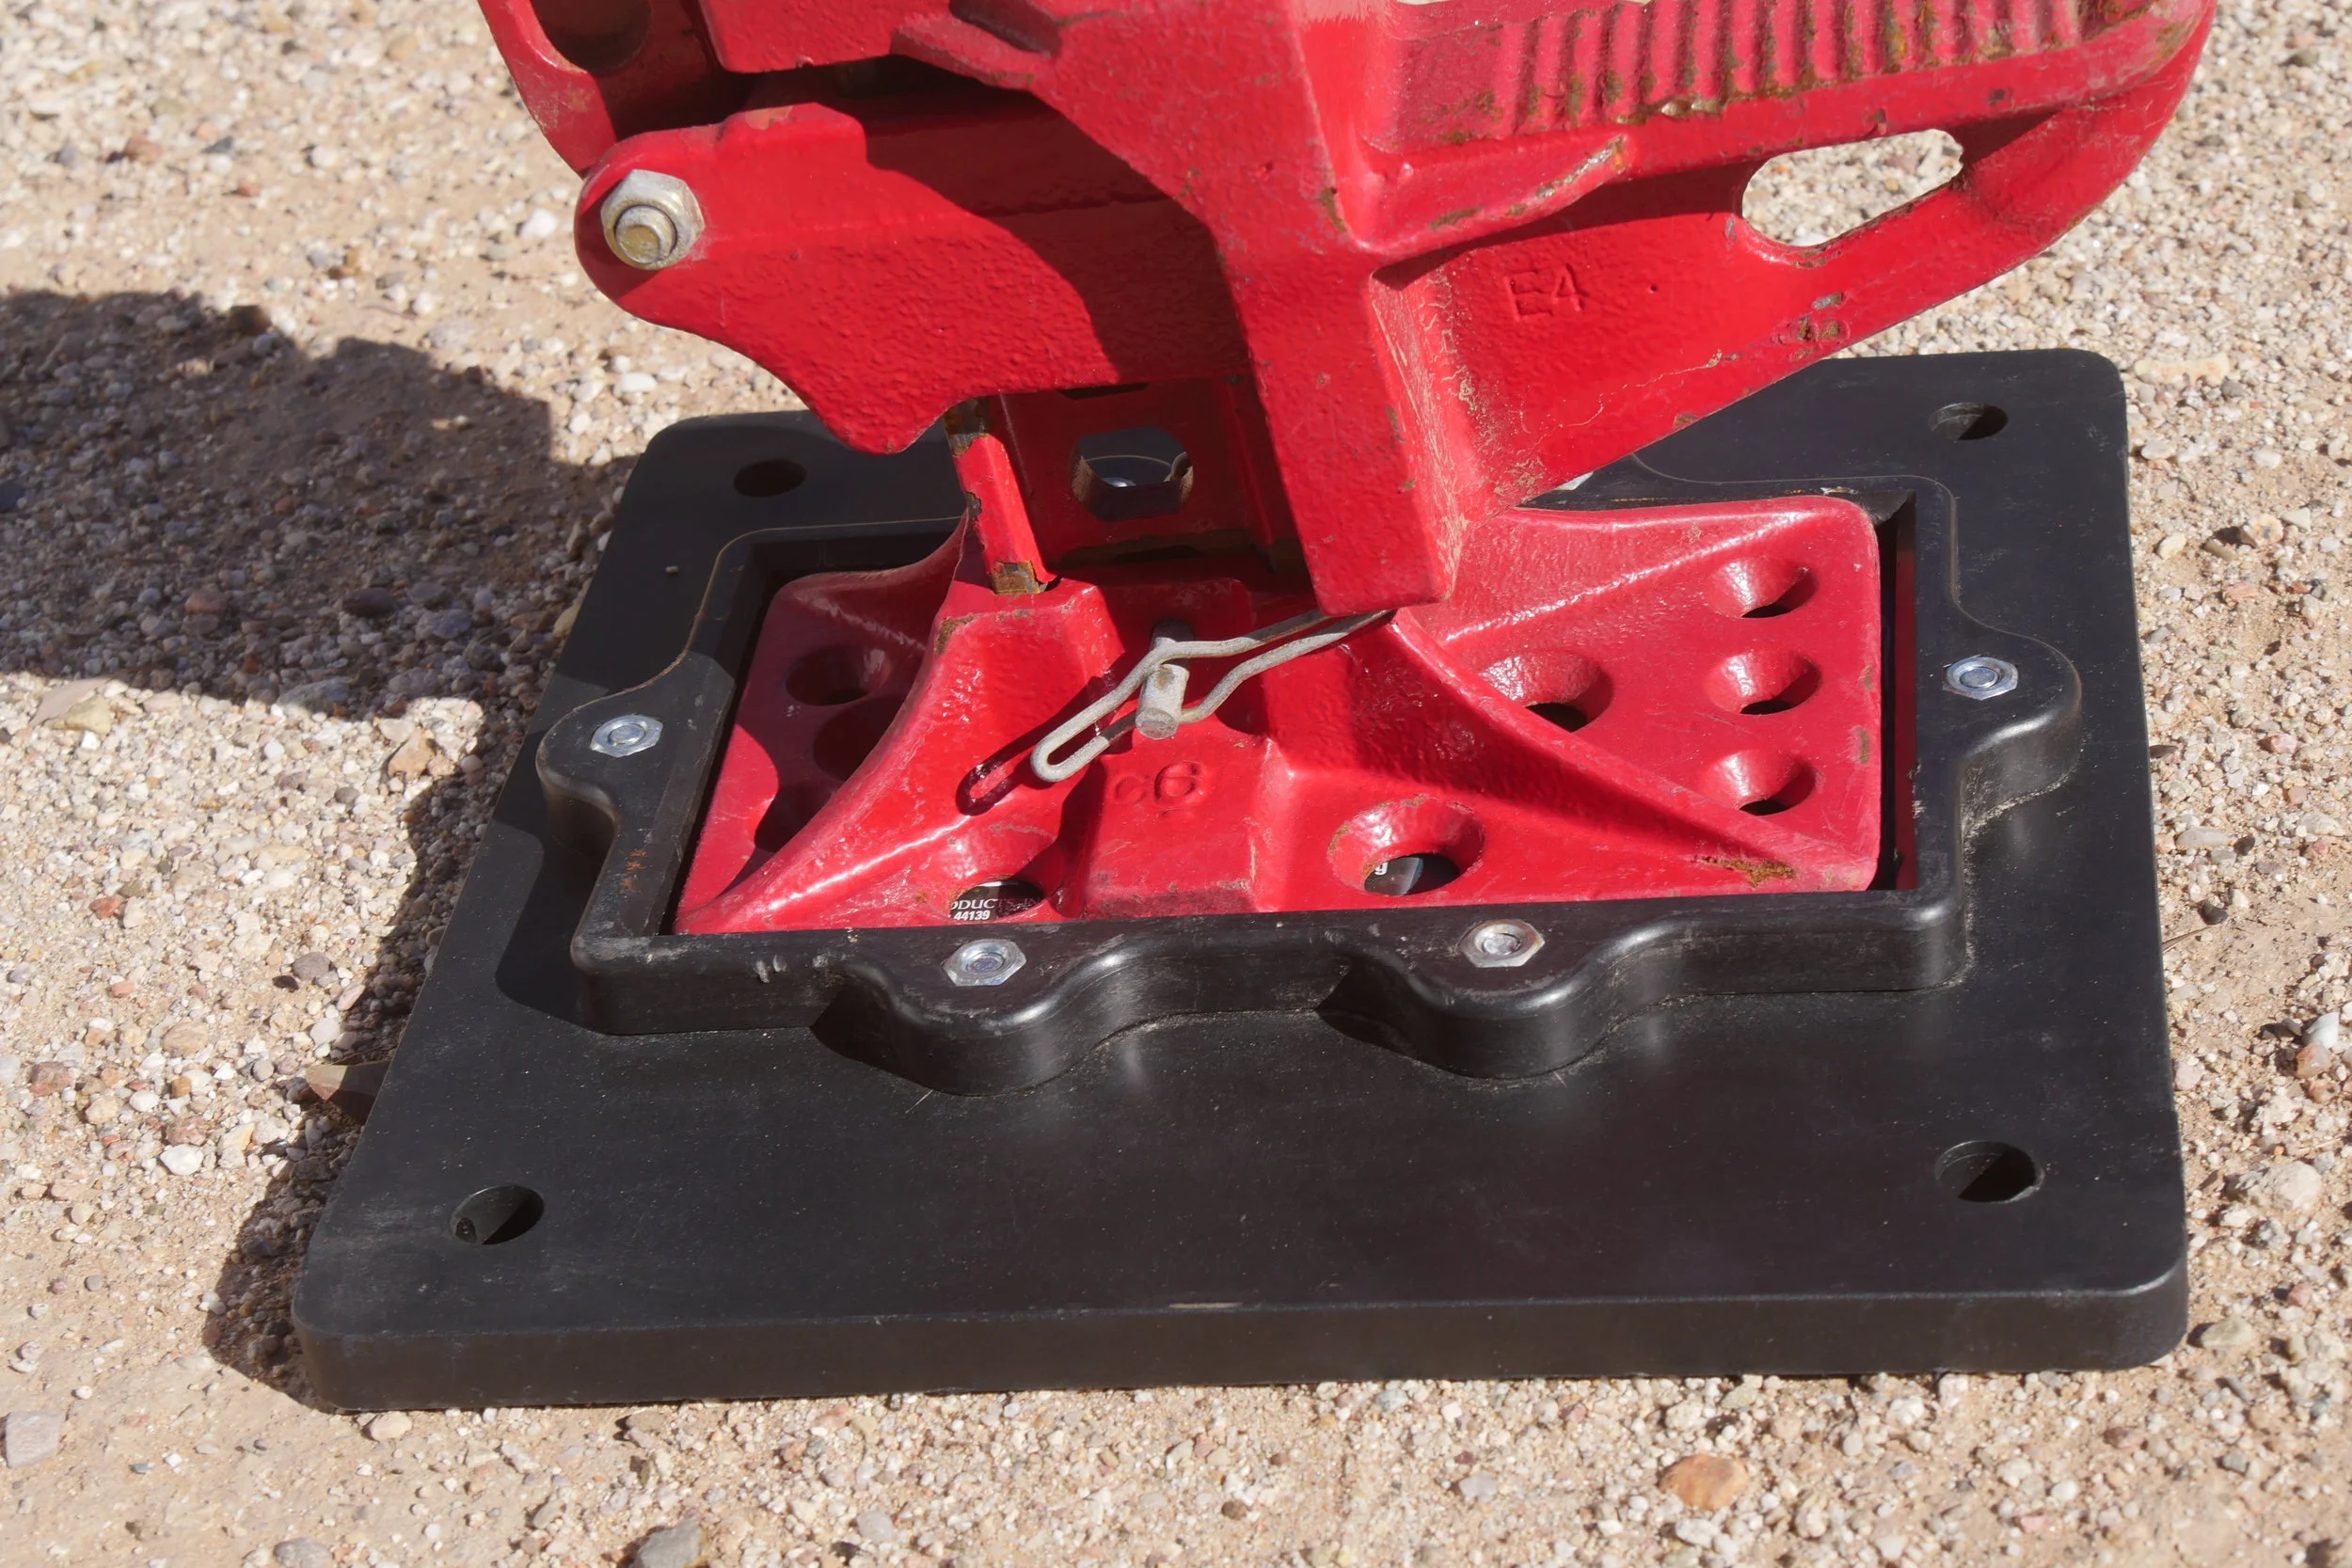
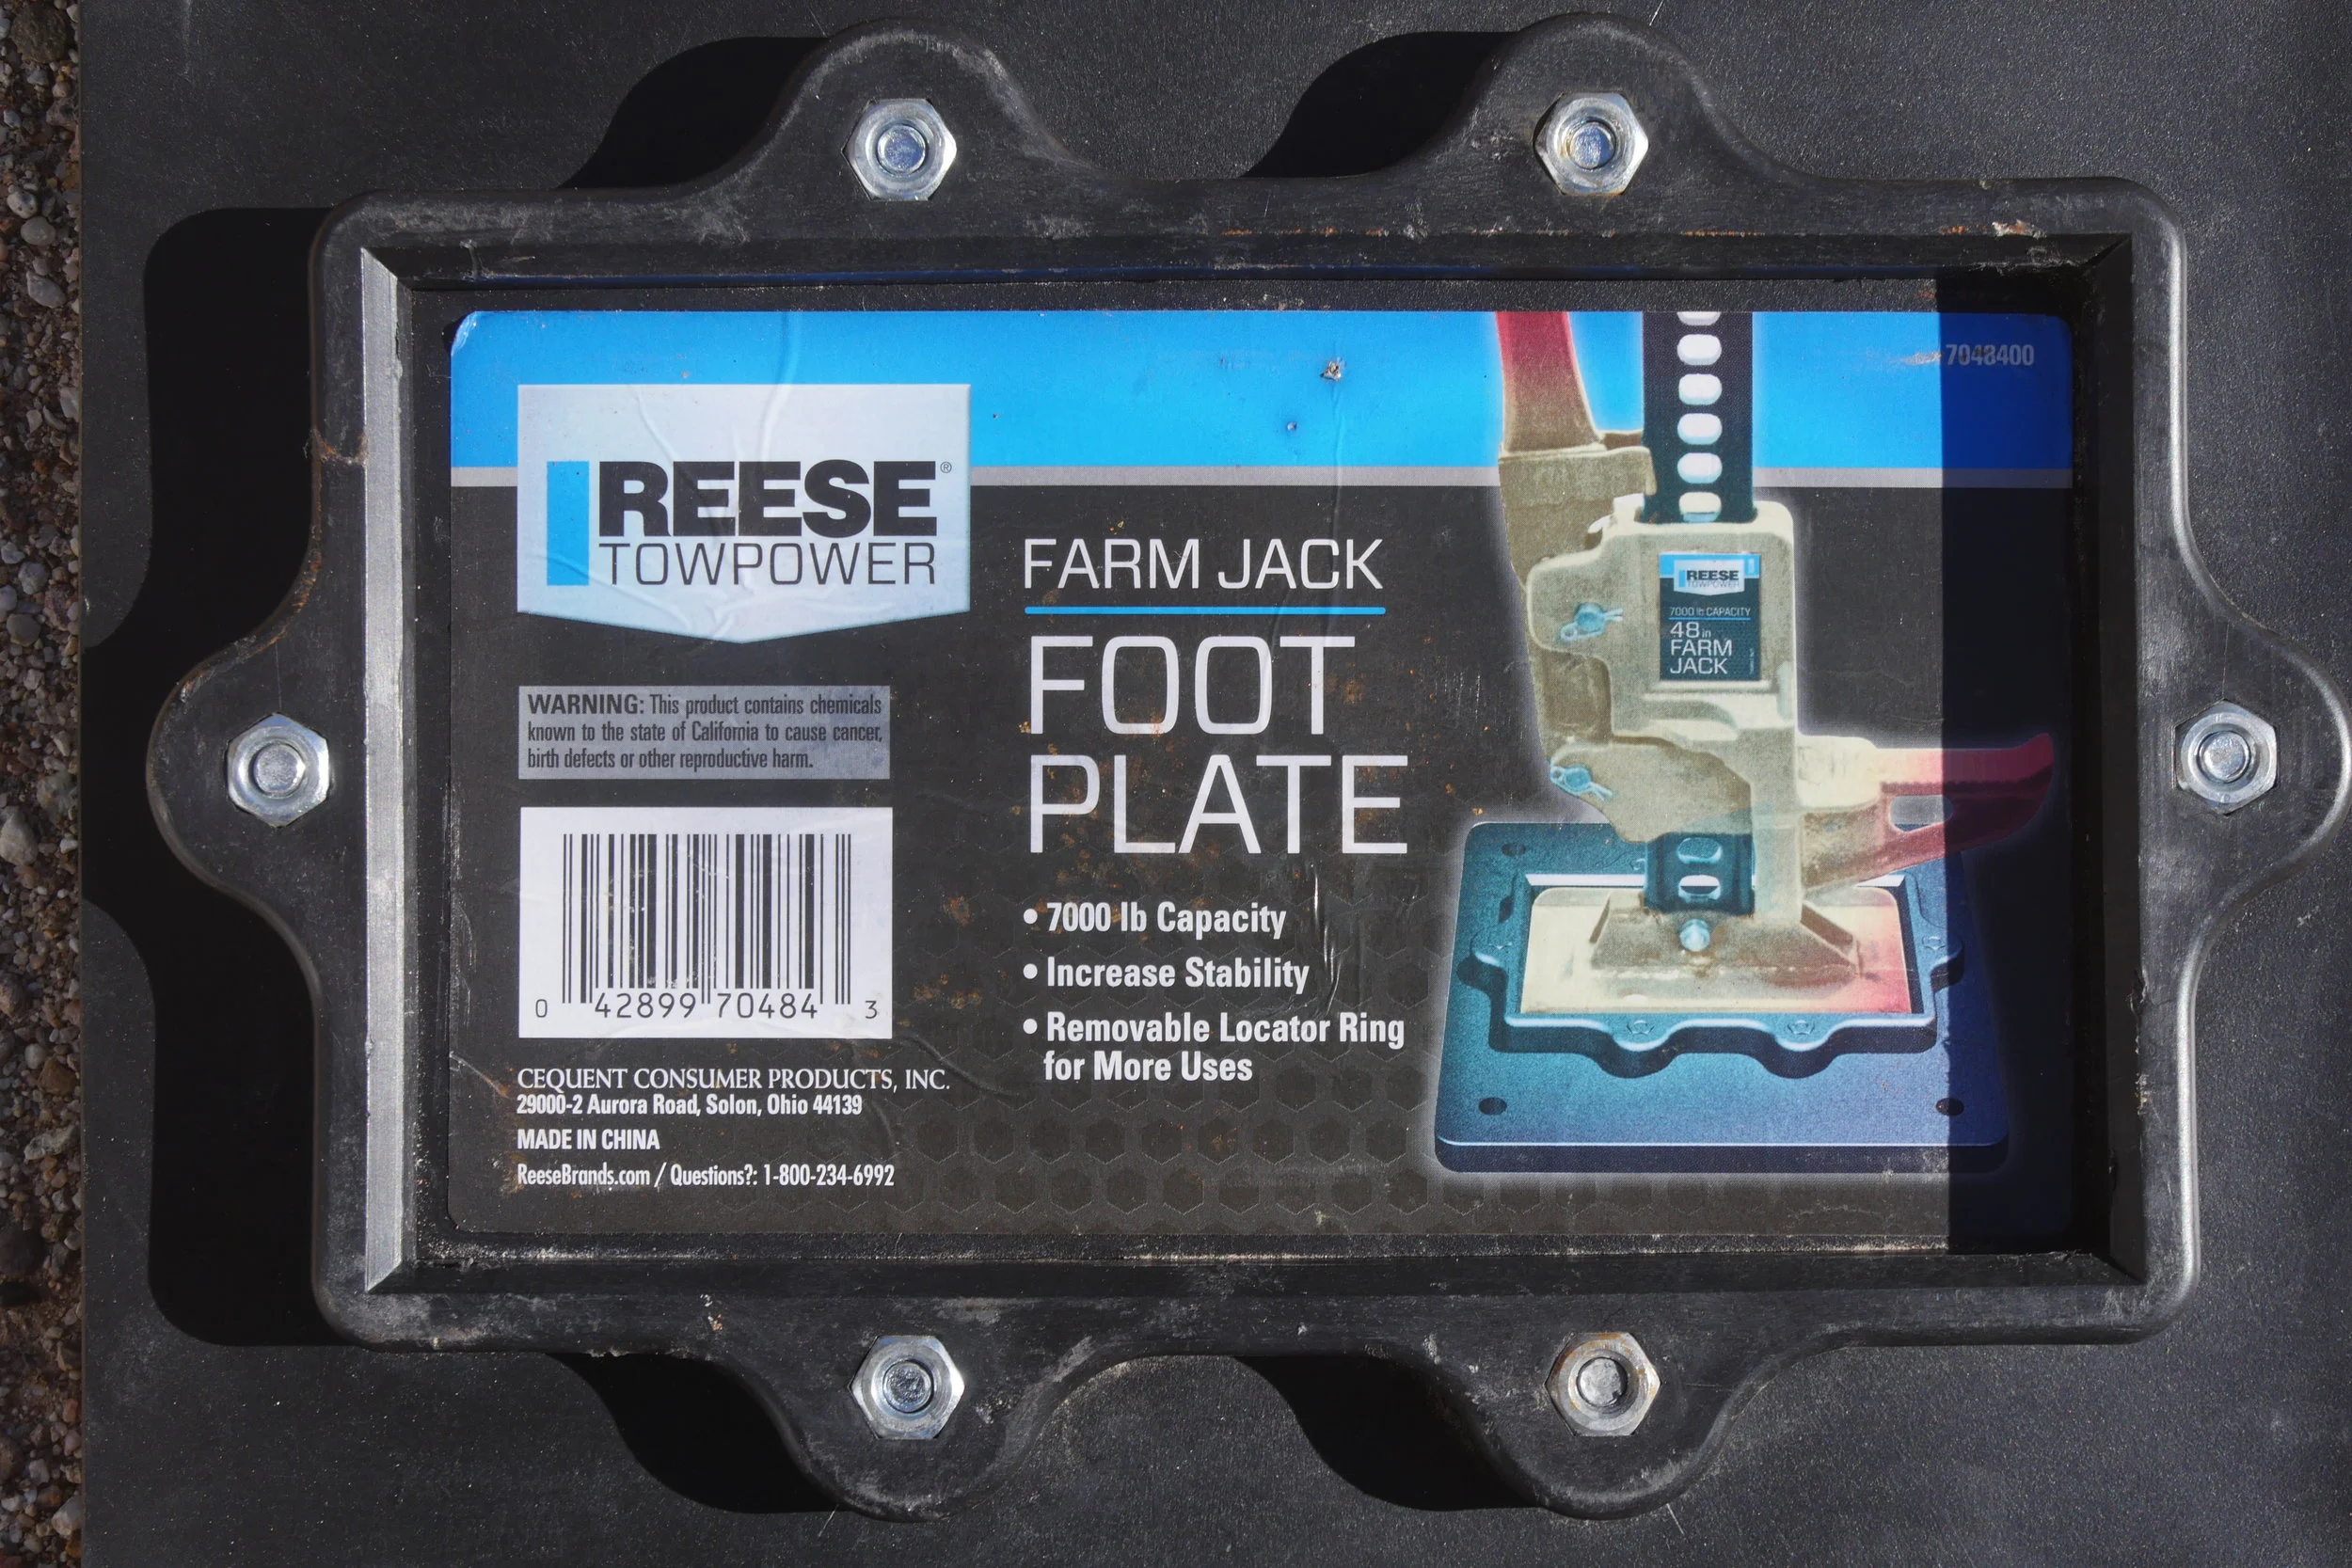
While shopping for some items we needed for Expo East this November at one of the Tractor Supply Company (TSC) stores, I chanced upon a solution in the form of the Reese Farm Jack Foot Plate. Constructed of thick polypropylene, it’s far more compact than the red base, yet boasts a 7,000-pound capacity. I put it to an unusual but effective trial at the show: Our 20-foot cargo trailer, which hauls all the Expo equipment and grosses about 10,000 pounds, had to be parked where the tongue jack would be in very soft mud. So I placed the Reese plate under the tongue’s foot, lowered probably 2,500-pounds plus onto it—and left it there for the duration of the show. It emerged unscathed and unwarped.
The Reese plate is one-third the height of the red base but seemes even thinner, it’s so easy to stash. And I like the low-profile black color, too. This is my new standard-equipment Hi-Lift base plate. About $25 from TSC or Amazon.
The only three knots you need for paracord lashing

In my opinion nothing beats a ratchet strap for securing cargo. Cheaper cinch straps—even the superior style with the roller buckle—just can’t be cinched tight enough to reliably secure heavier and potentially dangerous items.
But it’s not always possible to use ratchet straps. Often you’ll simply run out of your supply, or the hooks won’t fit where you need to secure a load. Sometimes with a bulky roof-rack load you might need to run your lashing back and forth a dozen times to prevent flapping.
Time for the paracord.
Parachute cord has come a long way since its original application. Now you can find it everywhere from those ubiquitous “survival” bracelets and wrapped “tactical” knife handles to—ready?—the Hubble Space Telescope, where astronauts from the space shuttle Discovery used 35 feet of it to resecure loose thermal blankets protecting the instrument.
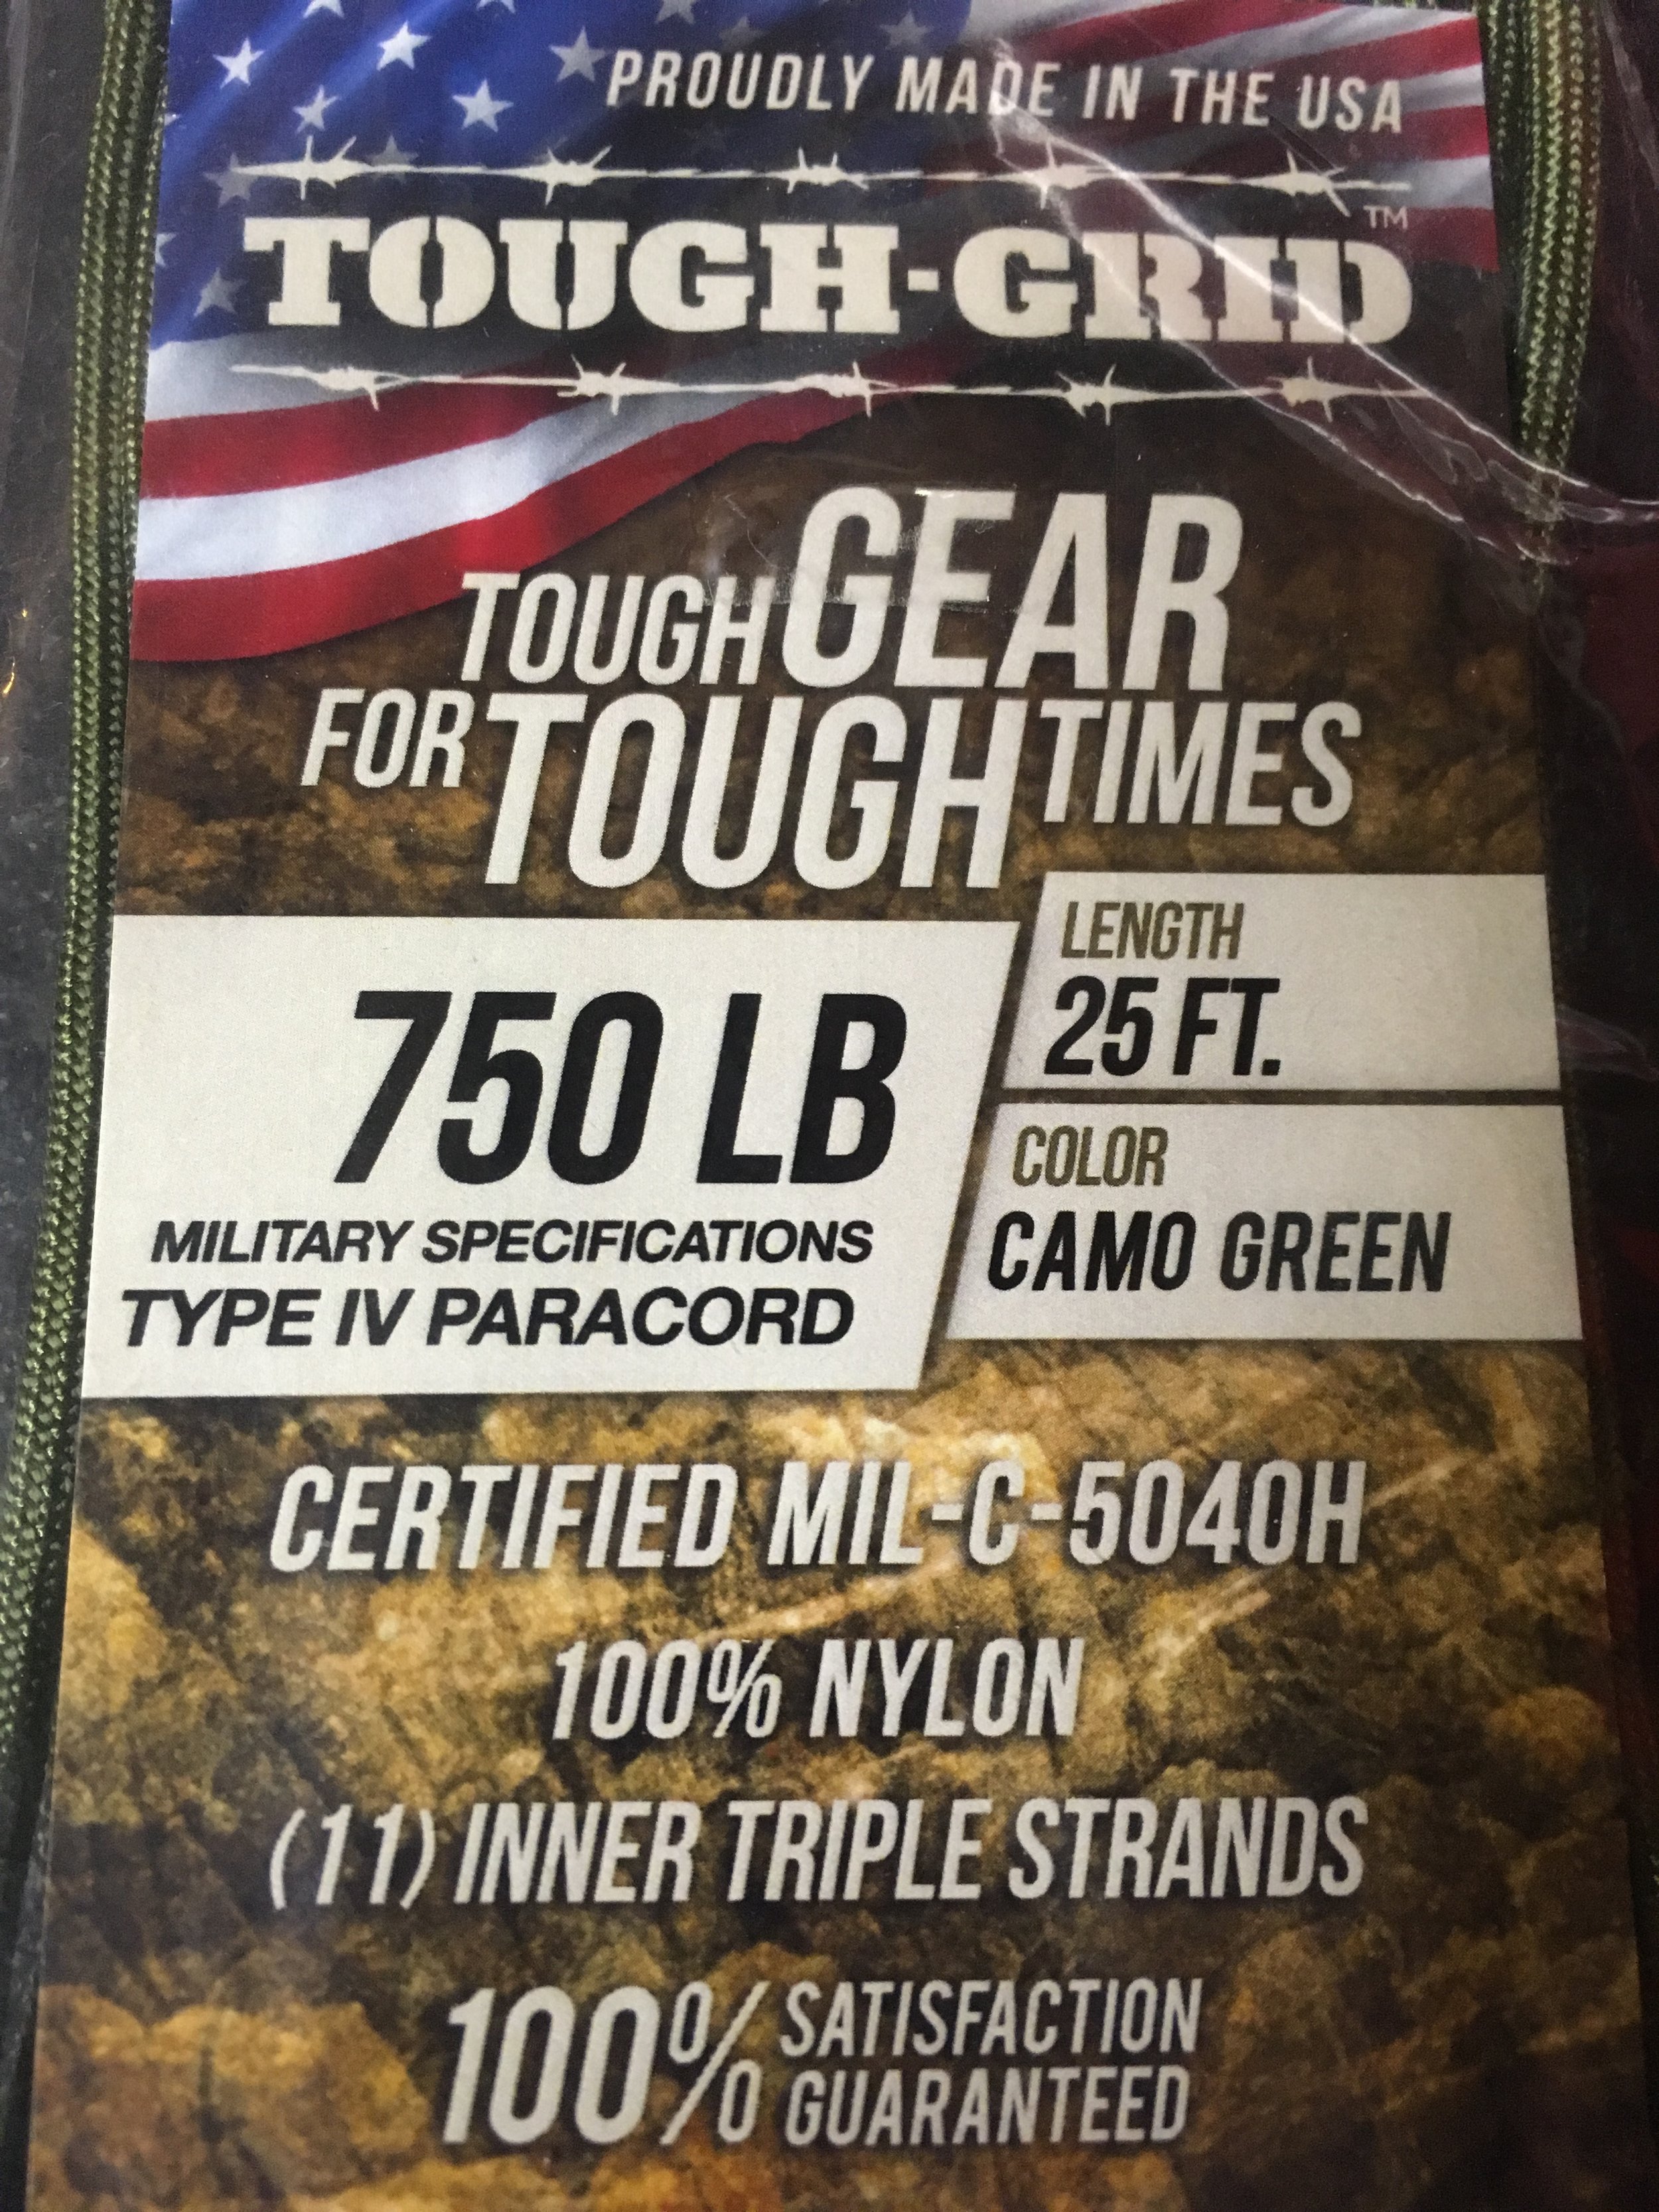
That ubiquity has spawned a lot of substandard variations of the authentic product. Genuine mil-spec nylon paracord will advertise its conformity to military standard C-540H Type III (“550” paracord, indicating its rated breaking strength in pounds), or C-540H Type IV (“750” paracord, again indicating breaking strength). If you pull apart the end of a length of paracord you can confirm authenticity by counting the individual cords within the kernmantle sheath. Genuine mil-spec paracord will have between seven and 11 of them, and each cord will comprise three twisted strands (cheaper paracord might have fewer cords made from only two strands). On genuine mil-spec paracord one of the inner cords will be a contrasting color; this is a marker for the manufacturer.
Even genuine mil-spec paracord is inexpensive enough that keeping a couple hundred feet in the vehicle for odd jobs is affordable. Of course, you can opt for larger and more expensive kernantle cordage, even Kevlar if you want the ultimate in strength. But 550 or 750 paracord is pretty stout, as long as you keep in mind that a knot—any knot, to a greater or lesser degree—will reduce its strength by up to 25 percent.
Once you’ve determined the need for a fabbed up lashing and have cut the length you need, don’t neglect to fuse the end, otherwise the interior cords can protrude and snarl and your work will look decidedly less than pro. I work the kernmantle sheath over the end, so when I apply a flame it (usually) melts nicely and encapsulates the cords. Just make sure you have a solid, tight blob. I find that putting the flame next to but not right on the end helps melt the cord neatly.
Now you need to secure that cargo securely. Paracord has two characteristics that can work with and against you. It’s a bit stretchy, which makes it easier to tell when you’ve pulled it tight enough but can let the load shift if you haven’t. And it’s fairly slippery, which makes it easier to pull tight across duffels and other luggage, but which also means knots can come loose if not chosen correctly and tied properly.
To ensure that, you need know only three: a bowline, a trucker’s hitch, and a sheetbend.
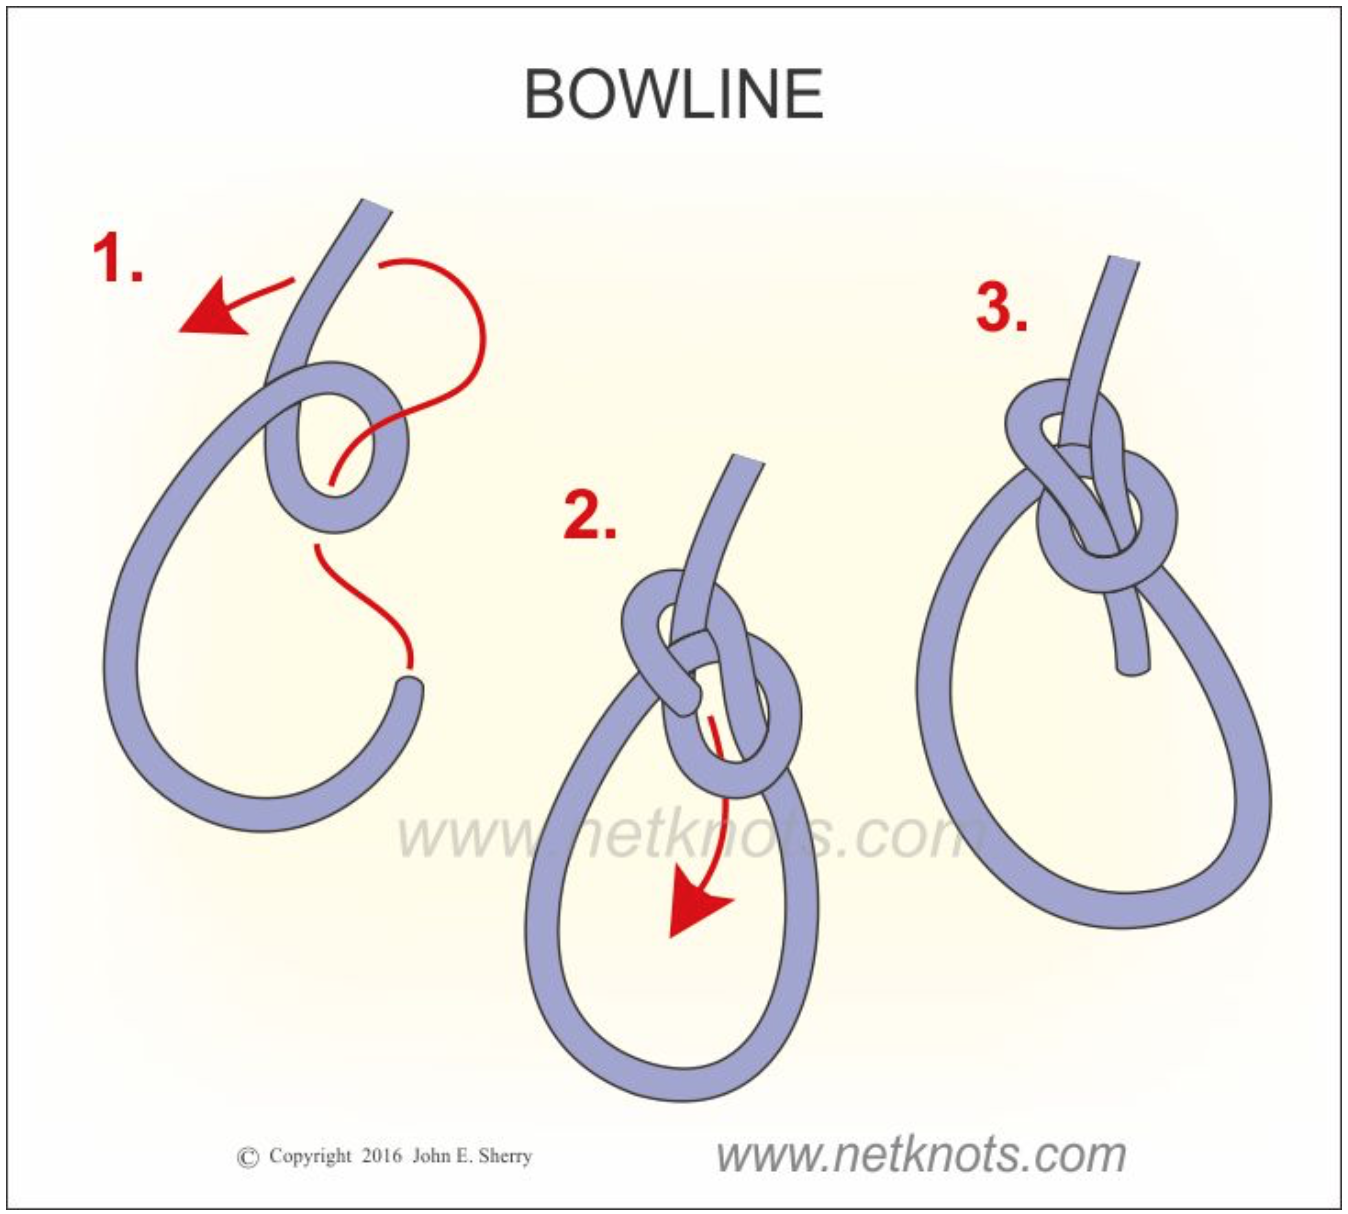
The bowline is the best way to make a secure loop, to tie the first end of your paracord to the roof rack or cargo eyelet. (I’ve blatantly lifted the still images here from the excellent site netknots.com, because I urge you to go there and watch the easy-to-follow animations of these knots, and dozens more.) The bowline is strong, it weakens the rope less than some other knots, yet it is easy to undo.
At the other end, you want to pull that cord as tight as possible and secure it so it won’t loosen. The trucker’s hitch actually functions as a jive pulley to multiply the force you’re pulling with, and when tied off properly will not slip.

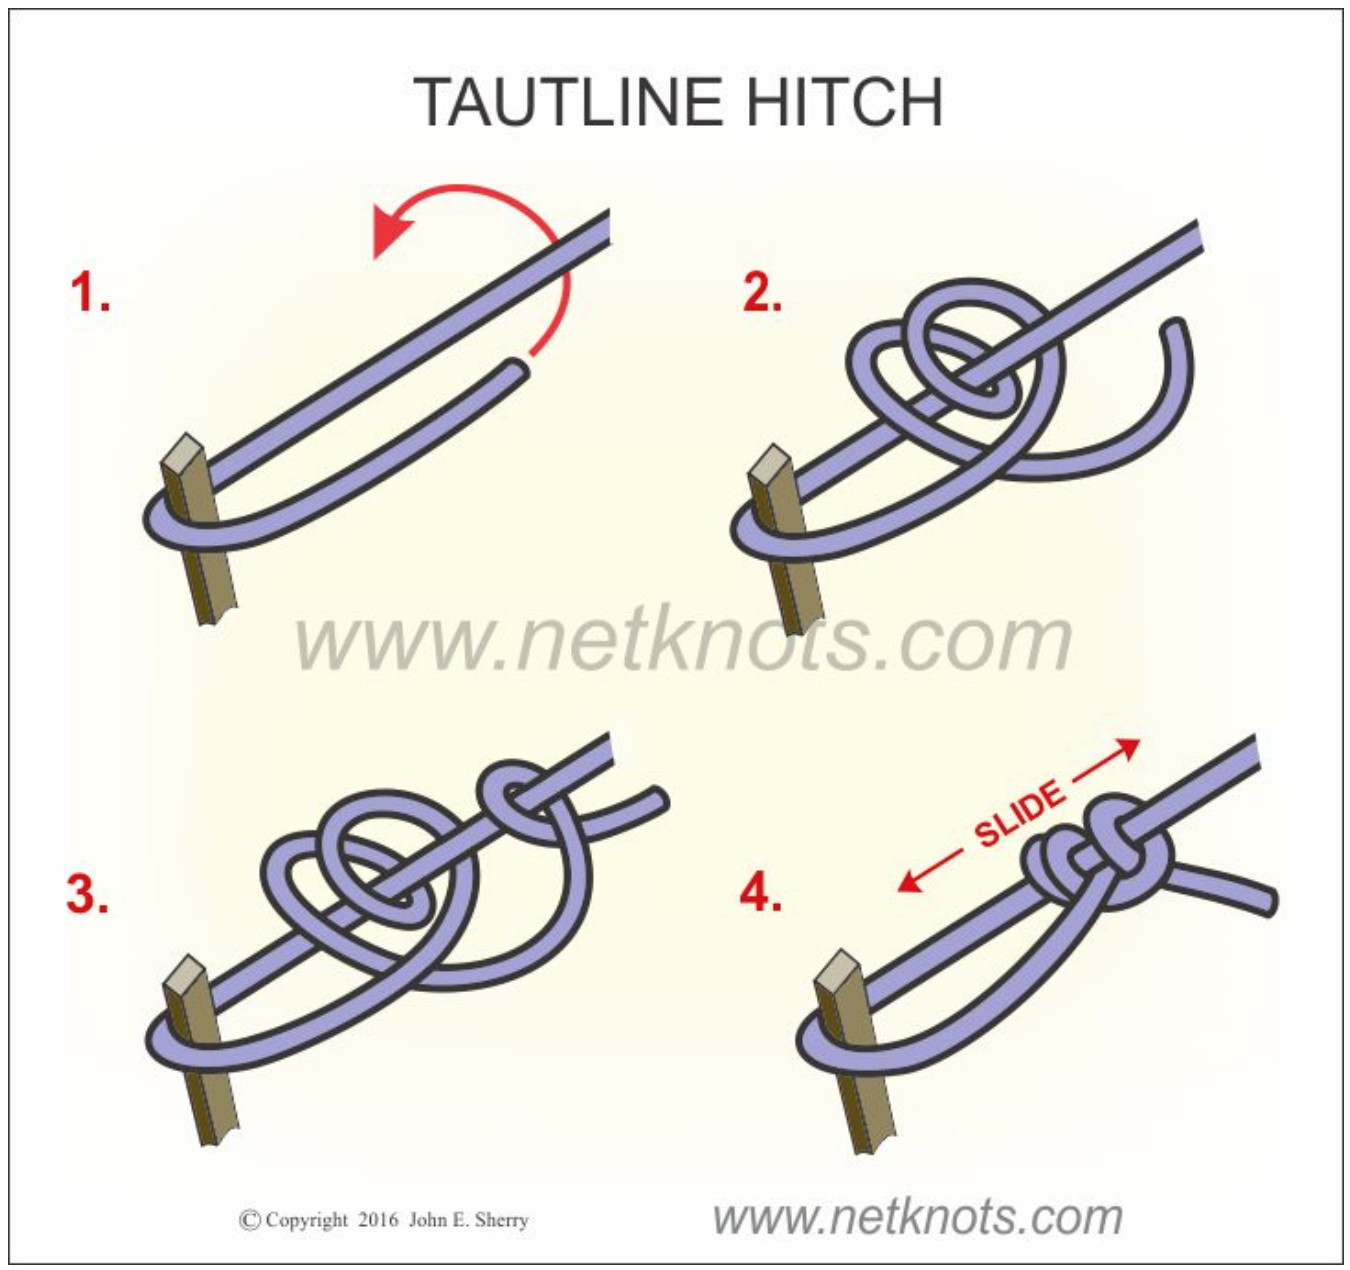
When using paracord I suggest augmenting the netknots instructions. In part three, they finish off the knot with a single loop (basically a half hitch). However, paracord can slip if secured thusly. I strongly suggest looping the end of the cord through twice, then looping it the opposite direction below, so you in effect add a tautline hitch, like this:
Do this finishing knot right up against the “pulley” loop. Just as with the bowline, the trucker’s hitch unties easily, and in fact the slippery half hitch you tied to use as the “pulley” will pop loose simply by pulling on either end of the cord.
The last knot you’ll use if you need to join two cords that are each too short: the sheet bend. It’s an incredibly simple knot, almost a square knot except the free end of the second (blue here) cord tucks under as shown.

For extra security you can double the knot as in the diagram. The brilliant thing about the sheet bend is that it will effectively join two cords or ropes of different diameter. Just remember to use the smaller line for the second (blue) part of the knot.
And the brilliant thing about all these knots is that they’re useful in hundreds of other situations. So cut yourself a three-foot piece of mil-spec paracord and practice them until they’re second nature. They’ll serve you well.
Hint: When using “Search,” if nothing comes up, reload the page, this usually works. Also, our “Comment” button is on strike thanks to Squarespace, which is proving to be difficult to use! Please email me with comments!
Overland Tech & Travel brings you in-depth overland equipment tests, reviews, news, travel tips, & stories from the best overlanding experts on the planet. Follow or subscribe (below) to keep up to date.
Have a question for Jonathan? Send him an email [click here].
SUBSCRIBE
CLICK HERE to subscribe to Jonathan’s email list; we send once or twice a month, usually Sunday morning for your weekend reading pleasure.


Overland Tech and Travel is curated by Jonathan Hanson, co-founder and former co-owner of the Overland Expo. Jonathan segued from a misspent youth almost directly into a misspent adulthood, cleverly sidestepping any chance of a normal career track or a secure retirement by becoming a freelance writer, working for Outside, National Geographic Adventure, and nearly two dozen other publications. He co-founded Overland Journal in 2007 and was its executive editor until 2011, when he left and sold his shares in the company. His travels encompass explorations on land and sea on six continents, by foot, bicycle, sea kayak, motorcycle, and four-wheel-drive vehicle. He has published a dozen books, several with his wife, Roseann Hanson, gaining several obscure non-cash awards along the way, and is the co-author of the fourth edition of Tom Sheppard's overlanding bible, the Vehicle-dependent Expedition Guide.