
Overland Tech and Travel
Advice from the world's
most experienced overlanders
tests, reviews, opinion, and more
Hammers . . .
Lately I’ve been trying to expand my dedicated set of bicycle tools, largely the iconic blue-handled items from Park, which I described last time as the Snap-on on of bike tool makers. Honestly, besides the specialty bits—bottom bracket tools, brake compressors, head-tube reamers, and the like—there really is no particular “bikeness” about Park’s hex keys, wrenches, pliers, and screwdrivers. But they’re inarguably of high quality, fairly priced, and, well, the pegboard just looks sharp with color-coordinated tools, and it makes me feel like I’m a better bicycle mechanic than I really am, and perhaps if you feel like a better mechanic you’ll actually be one.
Or whatever rationalization you like . . .
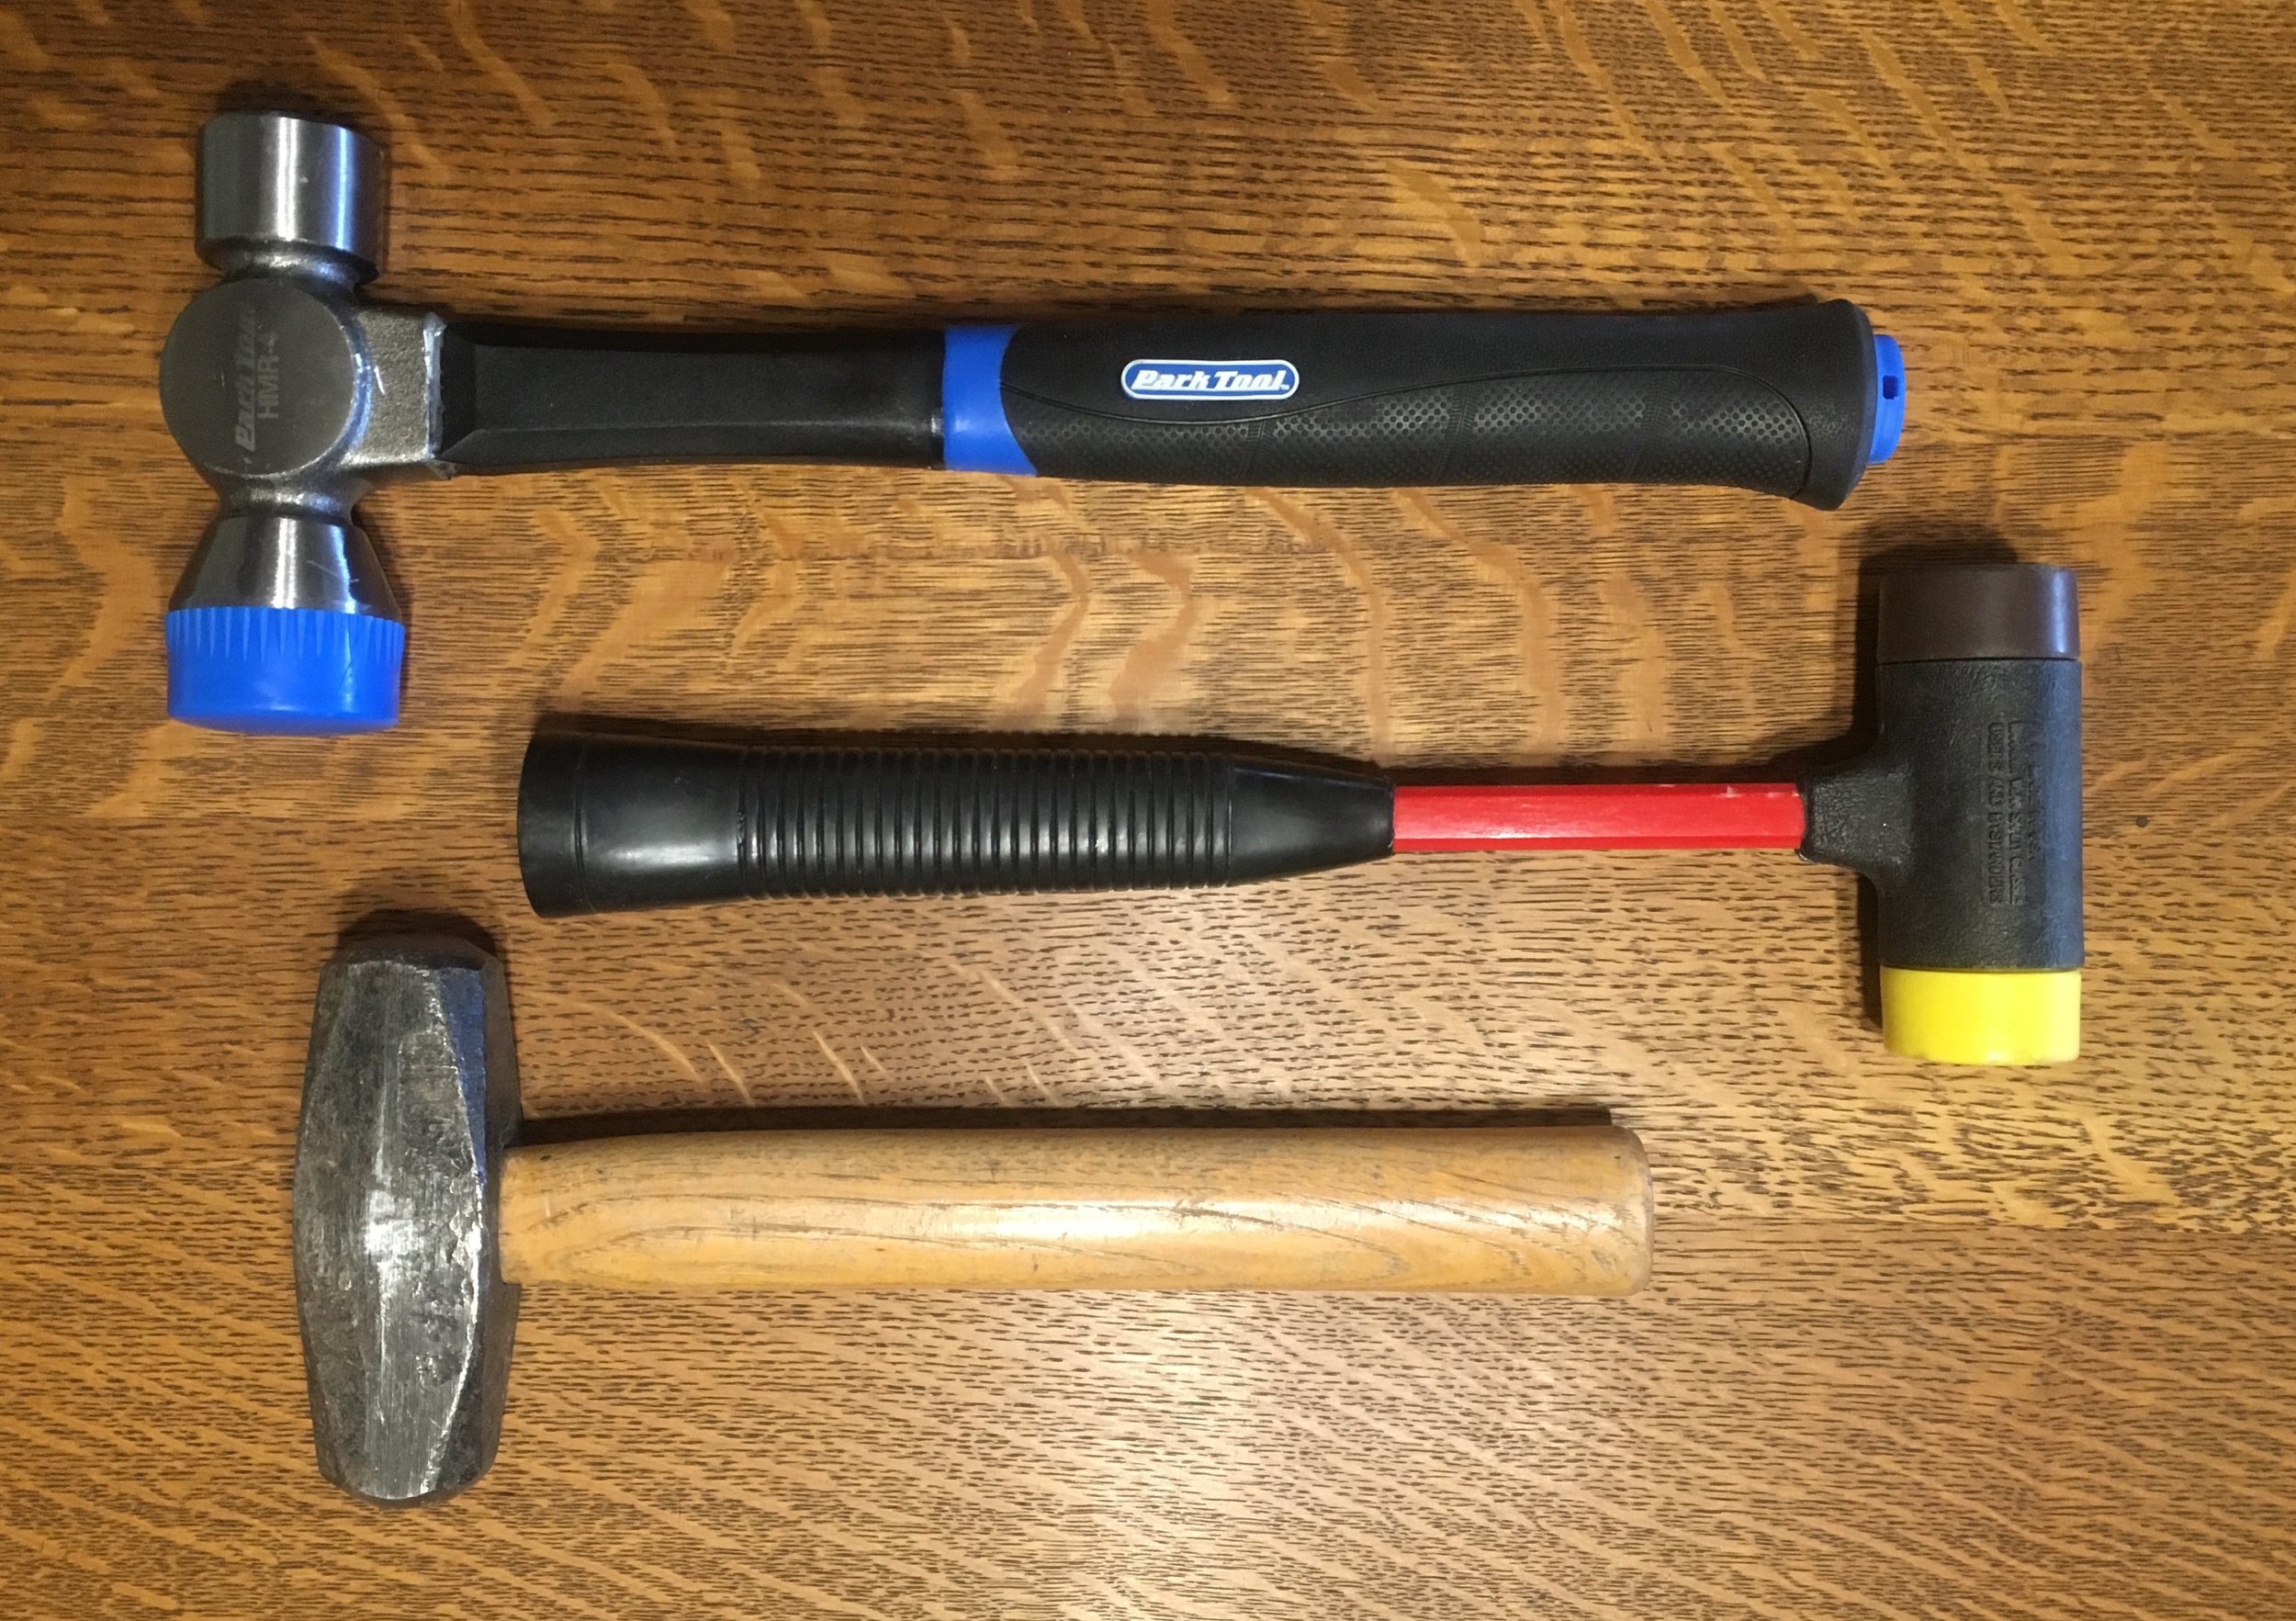
In any case, recently I decided it would be nice to have a dedicated hammer for bicycle work, for when certain things just need a tap or two either to get where they’re supposed to be or to be removed (the cottered cranks on Roseann’s vintage Raleigh come to mind). So I ordered a Park hammer with one hard face and one (replaceable) plastic face.
I was expecting a 3/4-scale tool suitable for not endangering expensive Campagnolo parts or brittle carbon fiber; instead I got a full-sized brute of a thing that weighs 2.1 pounds.
Hmm . . . that got me thinking, and I pulled out the One Case Tool Kit (full-size version). In it I currently have two hammers—a sledge for rough work and a Craftsman plastic-faced product with one soft and one harder face. The sledge weighs 2.4 pounds, the plastic hammer just under a pound. Honestly, the plastic hammer has proved too light. Even as something designed to be gentle on parts it lacks sufficient mass and kinetic energy to be effective. Comparing the new Park hammer, it is not that much lighter than the sledge for rough beating, yet usefully twice the weight of the Craftsman plastic hammer. And by replacing both previous hammers I actually save almost a pound and a half.
So, er, now I need to buy another bicycle hammer . . .
The most perfect tool on earth

Okay, that might be a bit of an overstatement. But every now and then you come across a tool that does exactly one thing, but does it so perfectly that you wonder how you got along without it.
In this case, the one thing to which I'm referring involves a fastener found, among many other places, on Land Cruiser carburetors. It's a near-microscopic springy bit known generally as a hair-pin clip, or colloquially as a Jesus clip (is it sacrilegious to use a capital there?)—either because some of them are shaped like the letter J, or because of the epithet used when one flies out of your grasp. On carburetors they're used to secure linkage rods by popping into a groove at the end of the rod. Removing and replacing them has always been a dicey proposition with needle-nose pliers or, slightly better, hemostats. Dicey because if one of these things pops out of whatever you're using to hold it, it's gone.

A few months ago, our master Toyota mechanic friend Bill Lee was visiting, and while he was here he addressed some issues on the FJ40's carb. When he started disassembling the linkage he pulled this out of his kit: a simple plunger-activated rod with a tiny hook in the end of a tiny tube.

The hook grabbed each Jesus clip and popped it off (and back on again) with effortless security. A groove in the end of the tube ensured the clip stayed straight, even when pushing it back into place.
OMG. I had to have one.
Except it turns out the company that made them, Lisle, discontinued part #46500. Little demand for fiendishly clever carburetor tools these days, I guess. I haunted eBay for weeks but failed to find a used one—until Bill visited again, and handed me one a mechanic friend, Jeff Bell, had given him. I'm going to be rebuilding my carburetor every six months just to employ this thing. Brilliant.

More on the OCTKL

Snap-on and JH Williams screwdrivers
The One-Case Tool Kit Lite (OCTKL) has been gathering dust the last few months. Trail dust, that is. It’s seen enough use that I thought a report was warranted, although I’m not sure the kit has assumed its final form. (See here and here for the initial articles.)
In many instances the contents simply migrated from the OCTKL’s 60-pound progenitor. But I wanted to try a few different things, and I explored a couple of new-to-me manufacturers. Here’s what I’ve been doing.
I go back and forth on screwdrivers. Sometimes I think Ace Hardware stuff is just fine. A 12-piece set there will run you $29. Snap-on charges $187 for seven pieces—four standard, three Phillips. That’s $26 each. Yes, they’re U.S.-made. Yes, the Snap-on items incorporate hex fittings so you can apply a wrench for extra torque, so they’re obviously durable. But seriously? I’m perfectly happy to drop $180 on a half-inch Snap-on ratchet, which might be the critical tool for a major repair. Less convinced I need the same commitment for screwdrivers.
Out of curiosity I started browsing Snap-on’s “Industrial Brands,” which comprise various subsidiaries that make tools for Snap-on in various countries of origin. One intriguing brand was JH Williams, which in at least some cases appears to manufacture tools equivalent to Snap-on tools of earlier generations. On Amazon I found a basic five-piece Williams screwdriver set, #100P-5MD—three slotted drivers and two Phillips—for $38.23. Also available was a comprehensive 19-piece assortment for $115. The Williams drivers appeared to be exact clones of the Snap-on screwdrivers I, er, actually bought about 15 years ago—right down to the hex fitting. The handles are identical—a rather slick black composite, which at first seems contra-indicated. However, they are shaped well for grip, and the finish makes them easy to clean up in the field—an important benefit in my book. I bought the basic kit as an experiment, and so far they’re performing perfectly.
I was surprised to see the Snap-on Industrial Brands website lists the origin of the Williams screwdrivers as the U.S. I figured they had been made offshore. As best I can determine, these are indeed identical to the previous generation Snap-on screwdrivers. Hmm . . . Seems like a bargain to me.
So . . . what about other Snap-on Industrial Brands? One that’s been around forever is Blue Point, which I seem to recall originally was used to label Snap-on’s power tools. Now Blue Point covers a wide range of products, including hand tools. I decided to try a set of 3/8ths inch, 12-point deep metric sockets, which seem to be impeccably made, and grip fasteners with every indication of the tight tolerance that is a hallmark of high-quality sockets. The Blue Point sockets are made in Taiwan, which has become the source for high-quality tools from several other companies such as Facom.
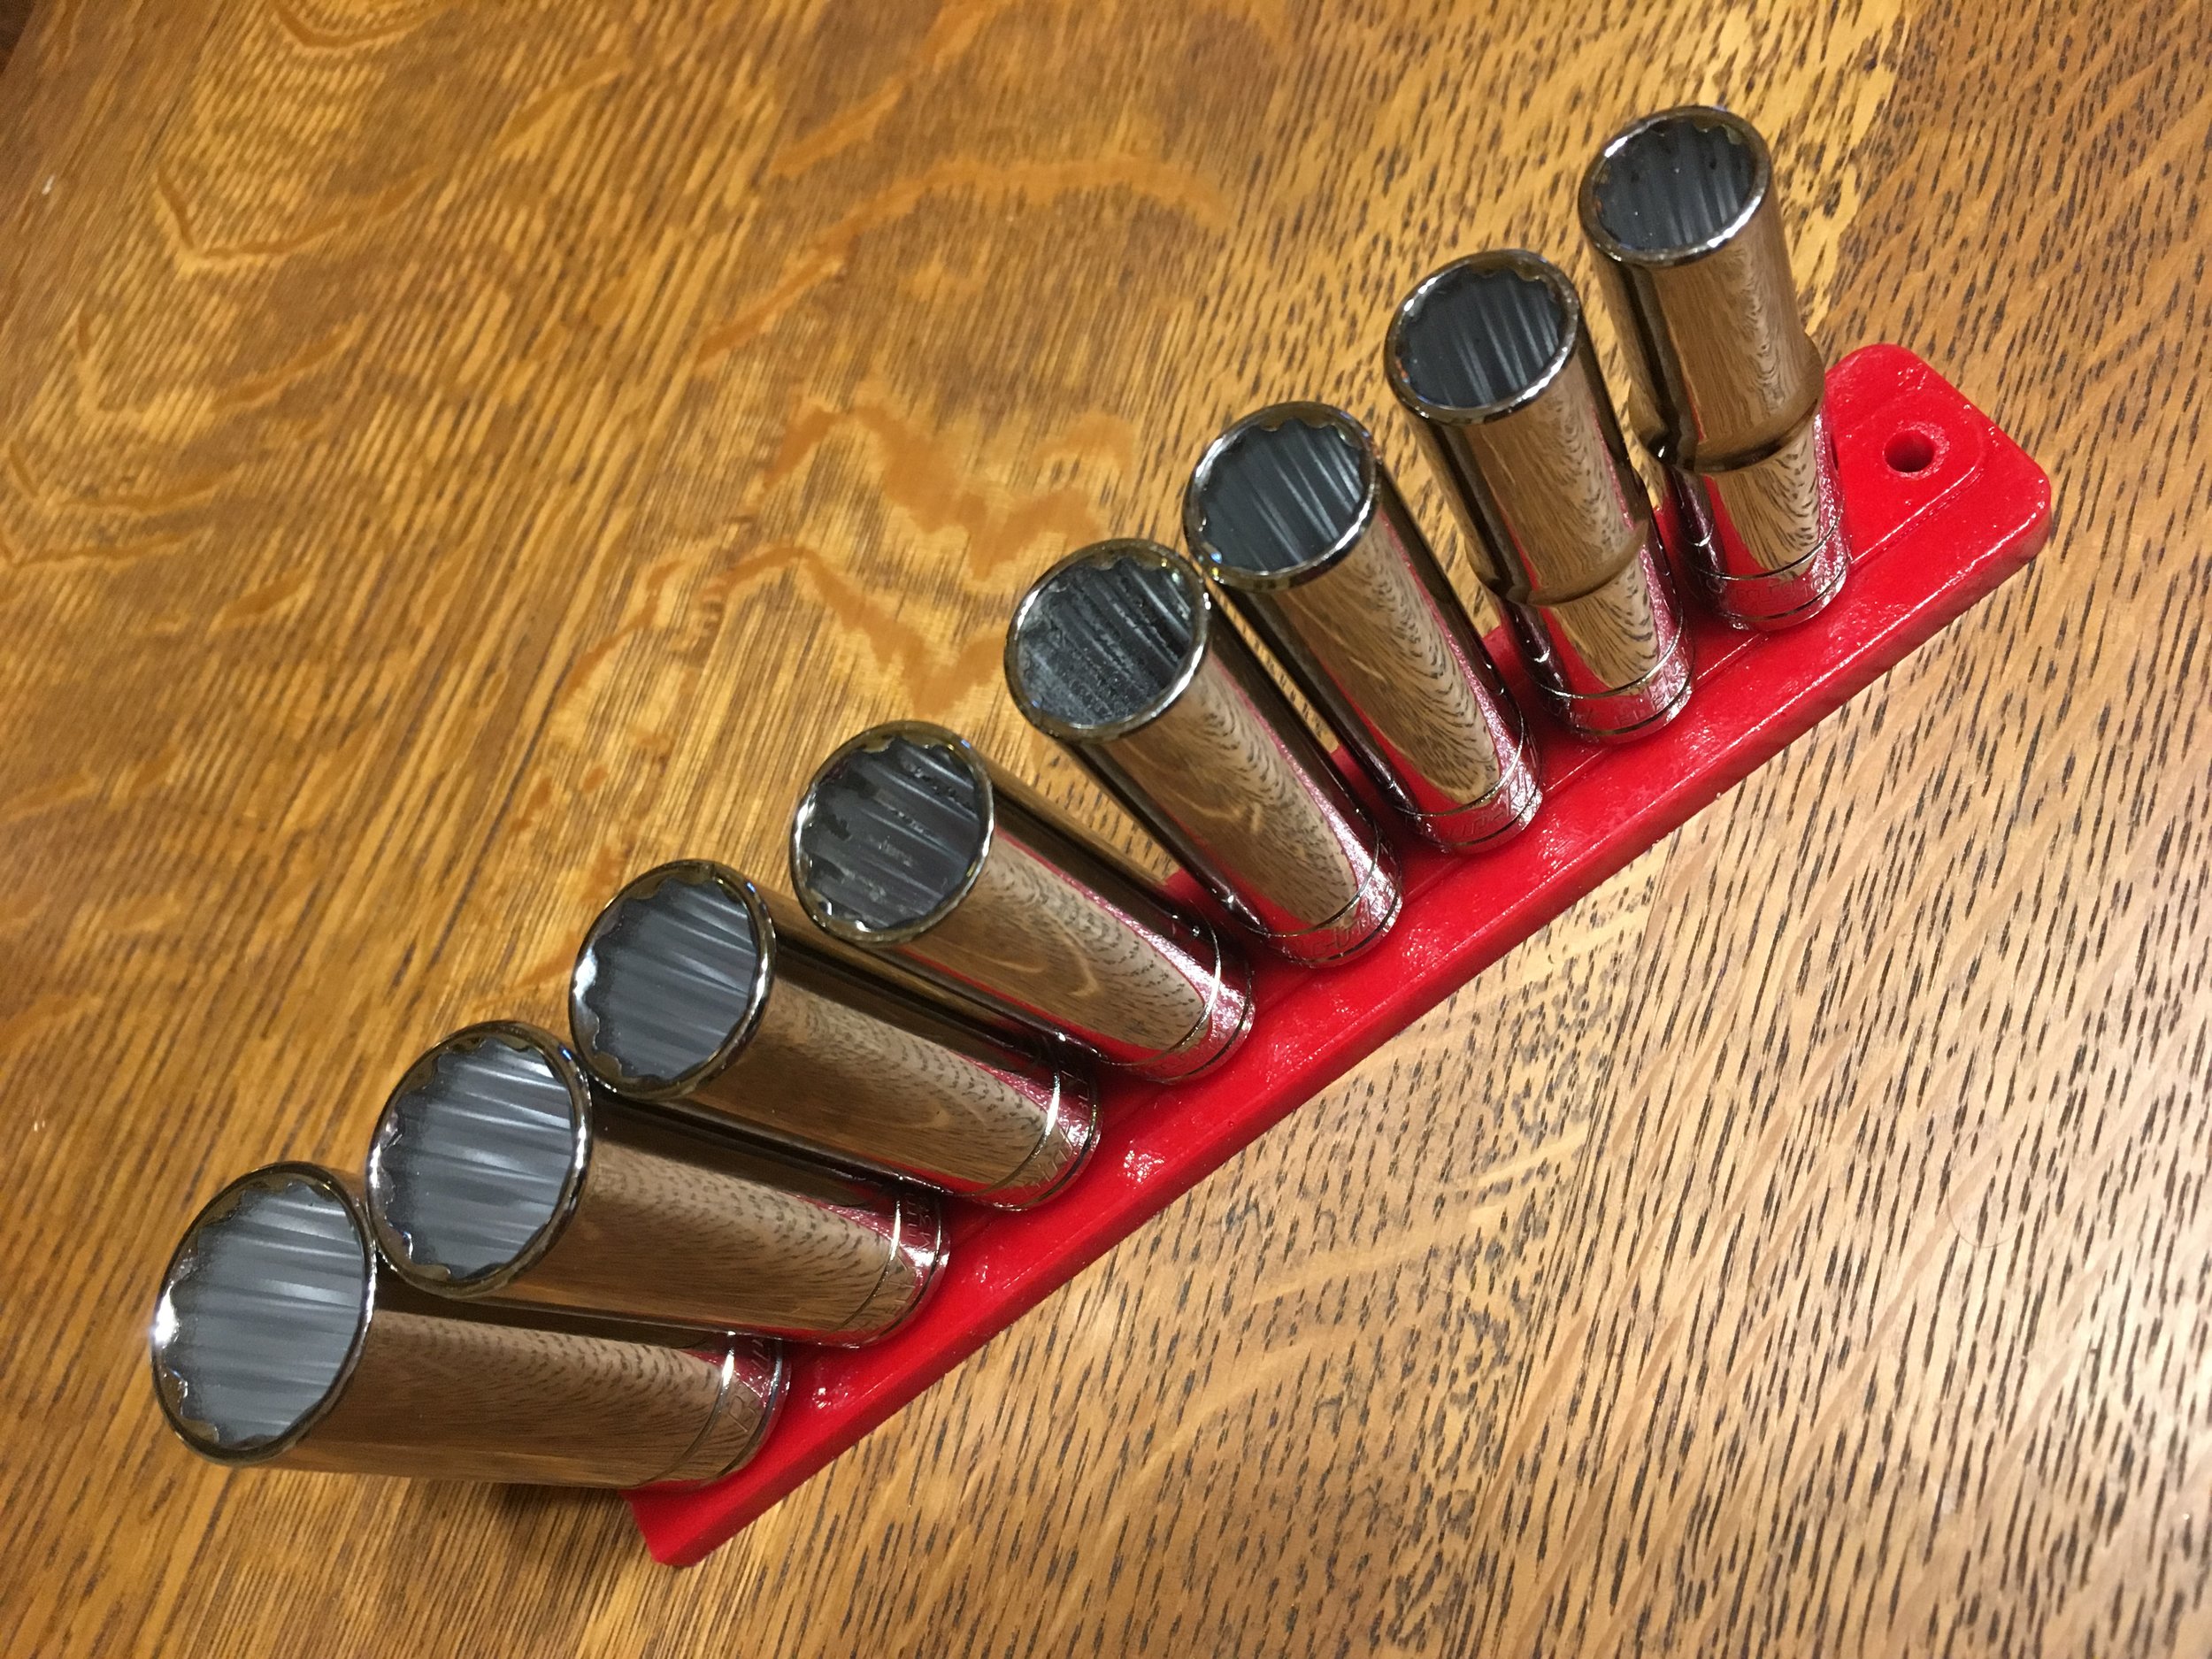
I wanted to keep the OCTKL compact and as light as possible, but I didn't want to simply dump my sockets into one of the pockets of the Blue Ridge Overland bag. So I ordered a set of flexible urethane socket rails from Off Road Trail Tools. They come in 1/4, 3/8, and 1/2-inch sizes, weigh next to nothing, and can be cut to length if you don’t need all 14 posts.
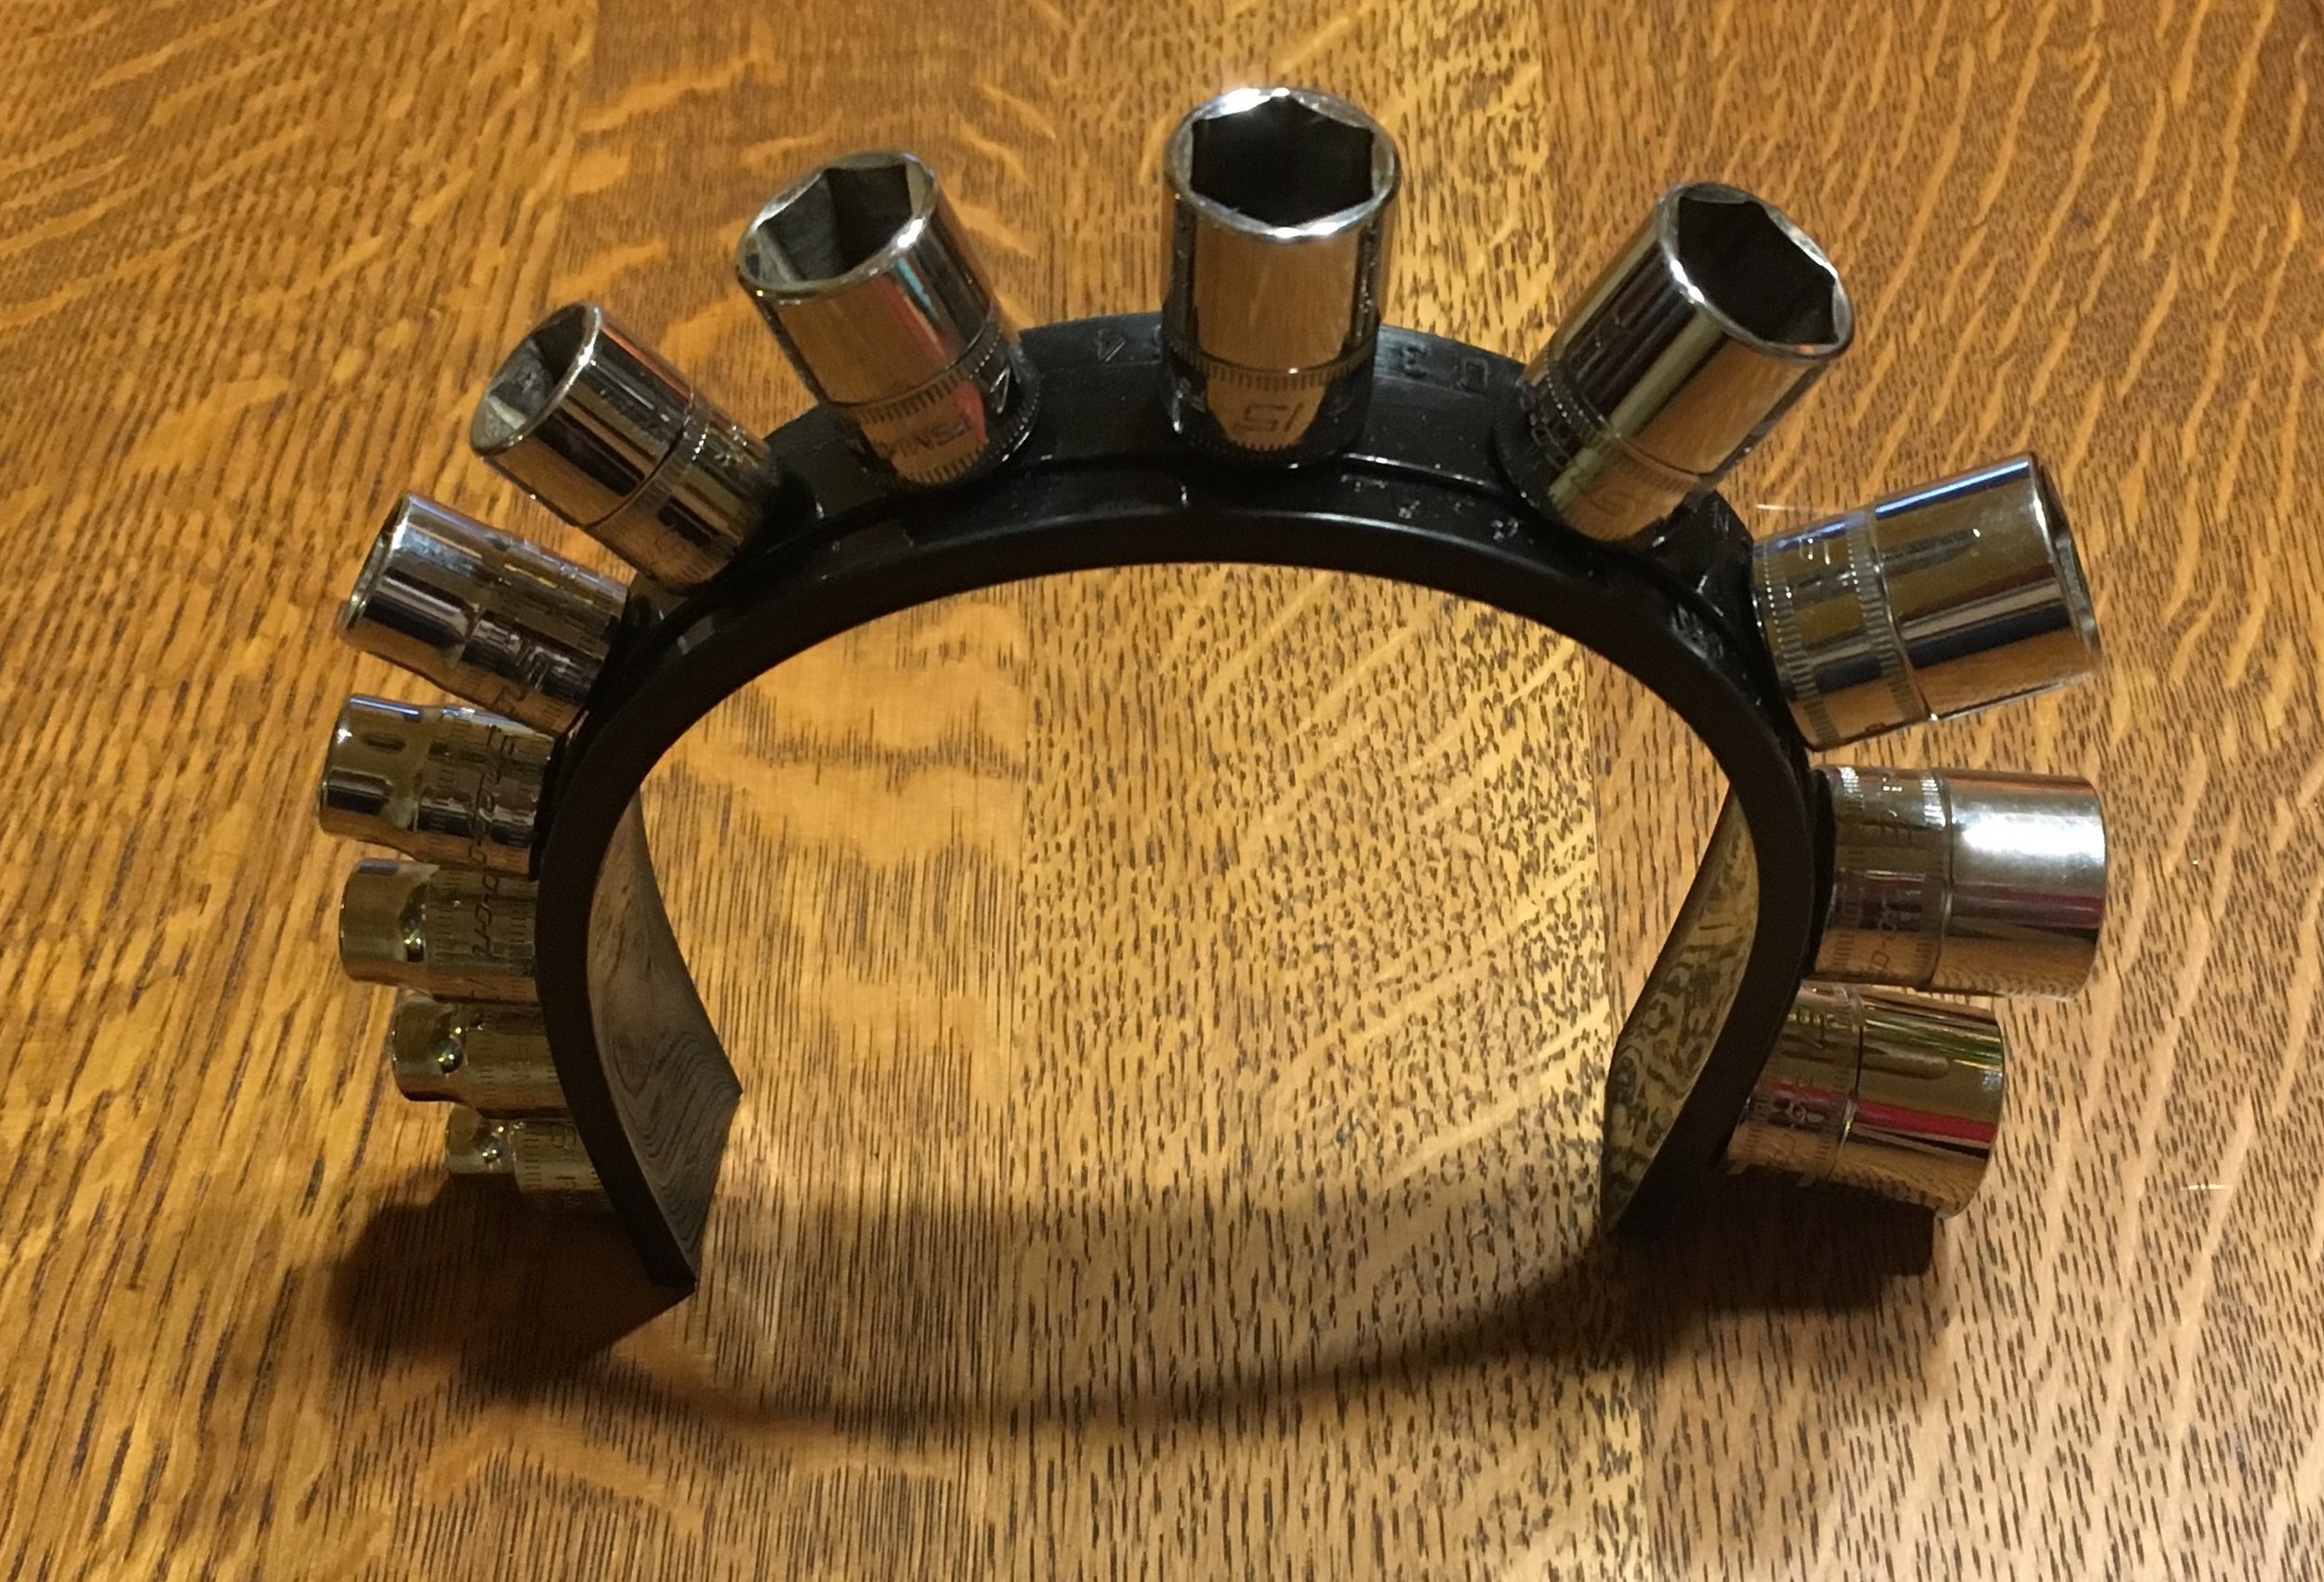
The ORTT urethane socket rails are flexible and trimable
On to . . . needle-nosed pliers? Yes. I find myself using these frequently, yet I’d never found a reasonably priced pair that I really liked—until I tried the ones pictured, from Park Tools, who are more or less considered the Snap-on of bicycle tool makers. Their NP-6 pliers have five different gripping, cutting, and crimping sections, fat and extremely comfortable and secure grips, and a gentle spring that keeps them open unless squeezed, meaning you only have to manipulate them in one direction. Well worth $25.

Simichrome

Just a quick note for those of you who, like me, prefer to keep your equipment looking good as well as performing properly. The other day I needed to polish the lovely English-made brass bell on the Thorn Nomad, and remembered to dig out the Simichrome polish. This stuff has been around for ages, but there's still nothing to beat it for shining up virtually anything that should be shiny, from bicycle accessories to chrome bumpers. Just look at the mirror finish on the bell:

The JL Wrangler Part 2: Rubicon

Scuffing tires on the demo course. Matt Scott photo.
I wonder if any of the corporate liability attorneys who signed off on the Jeep Wrangler Rubicon’s front and rear diff locks, anti-roll-bar disconnect, 4:1 transfer case, and 77:1 crawl ratio were ever given a demonstration of the vehicle’s capabilities.
Probably not. “Oh, those modifications? They, um, just help traction. You know, to enhance safety,” the engineers told them, winking broadly at each other.
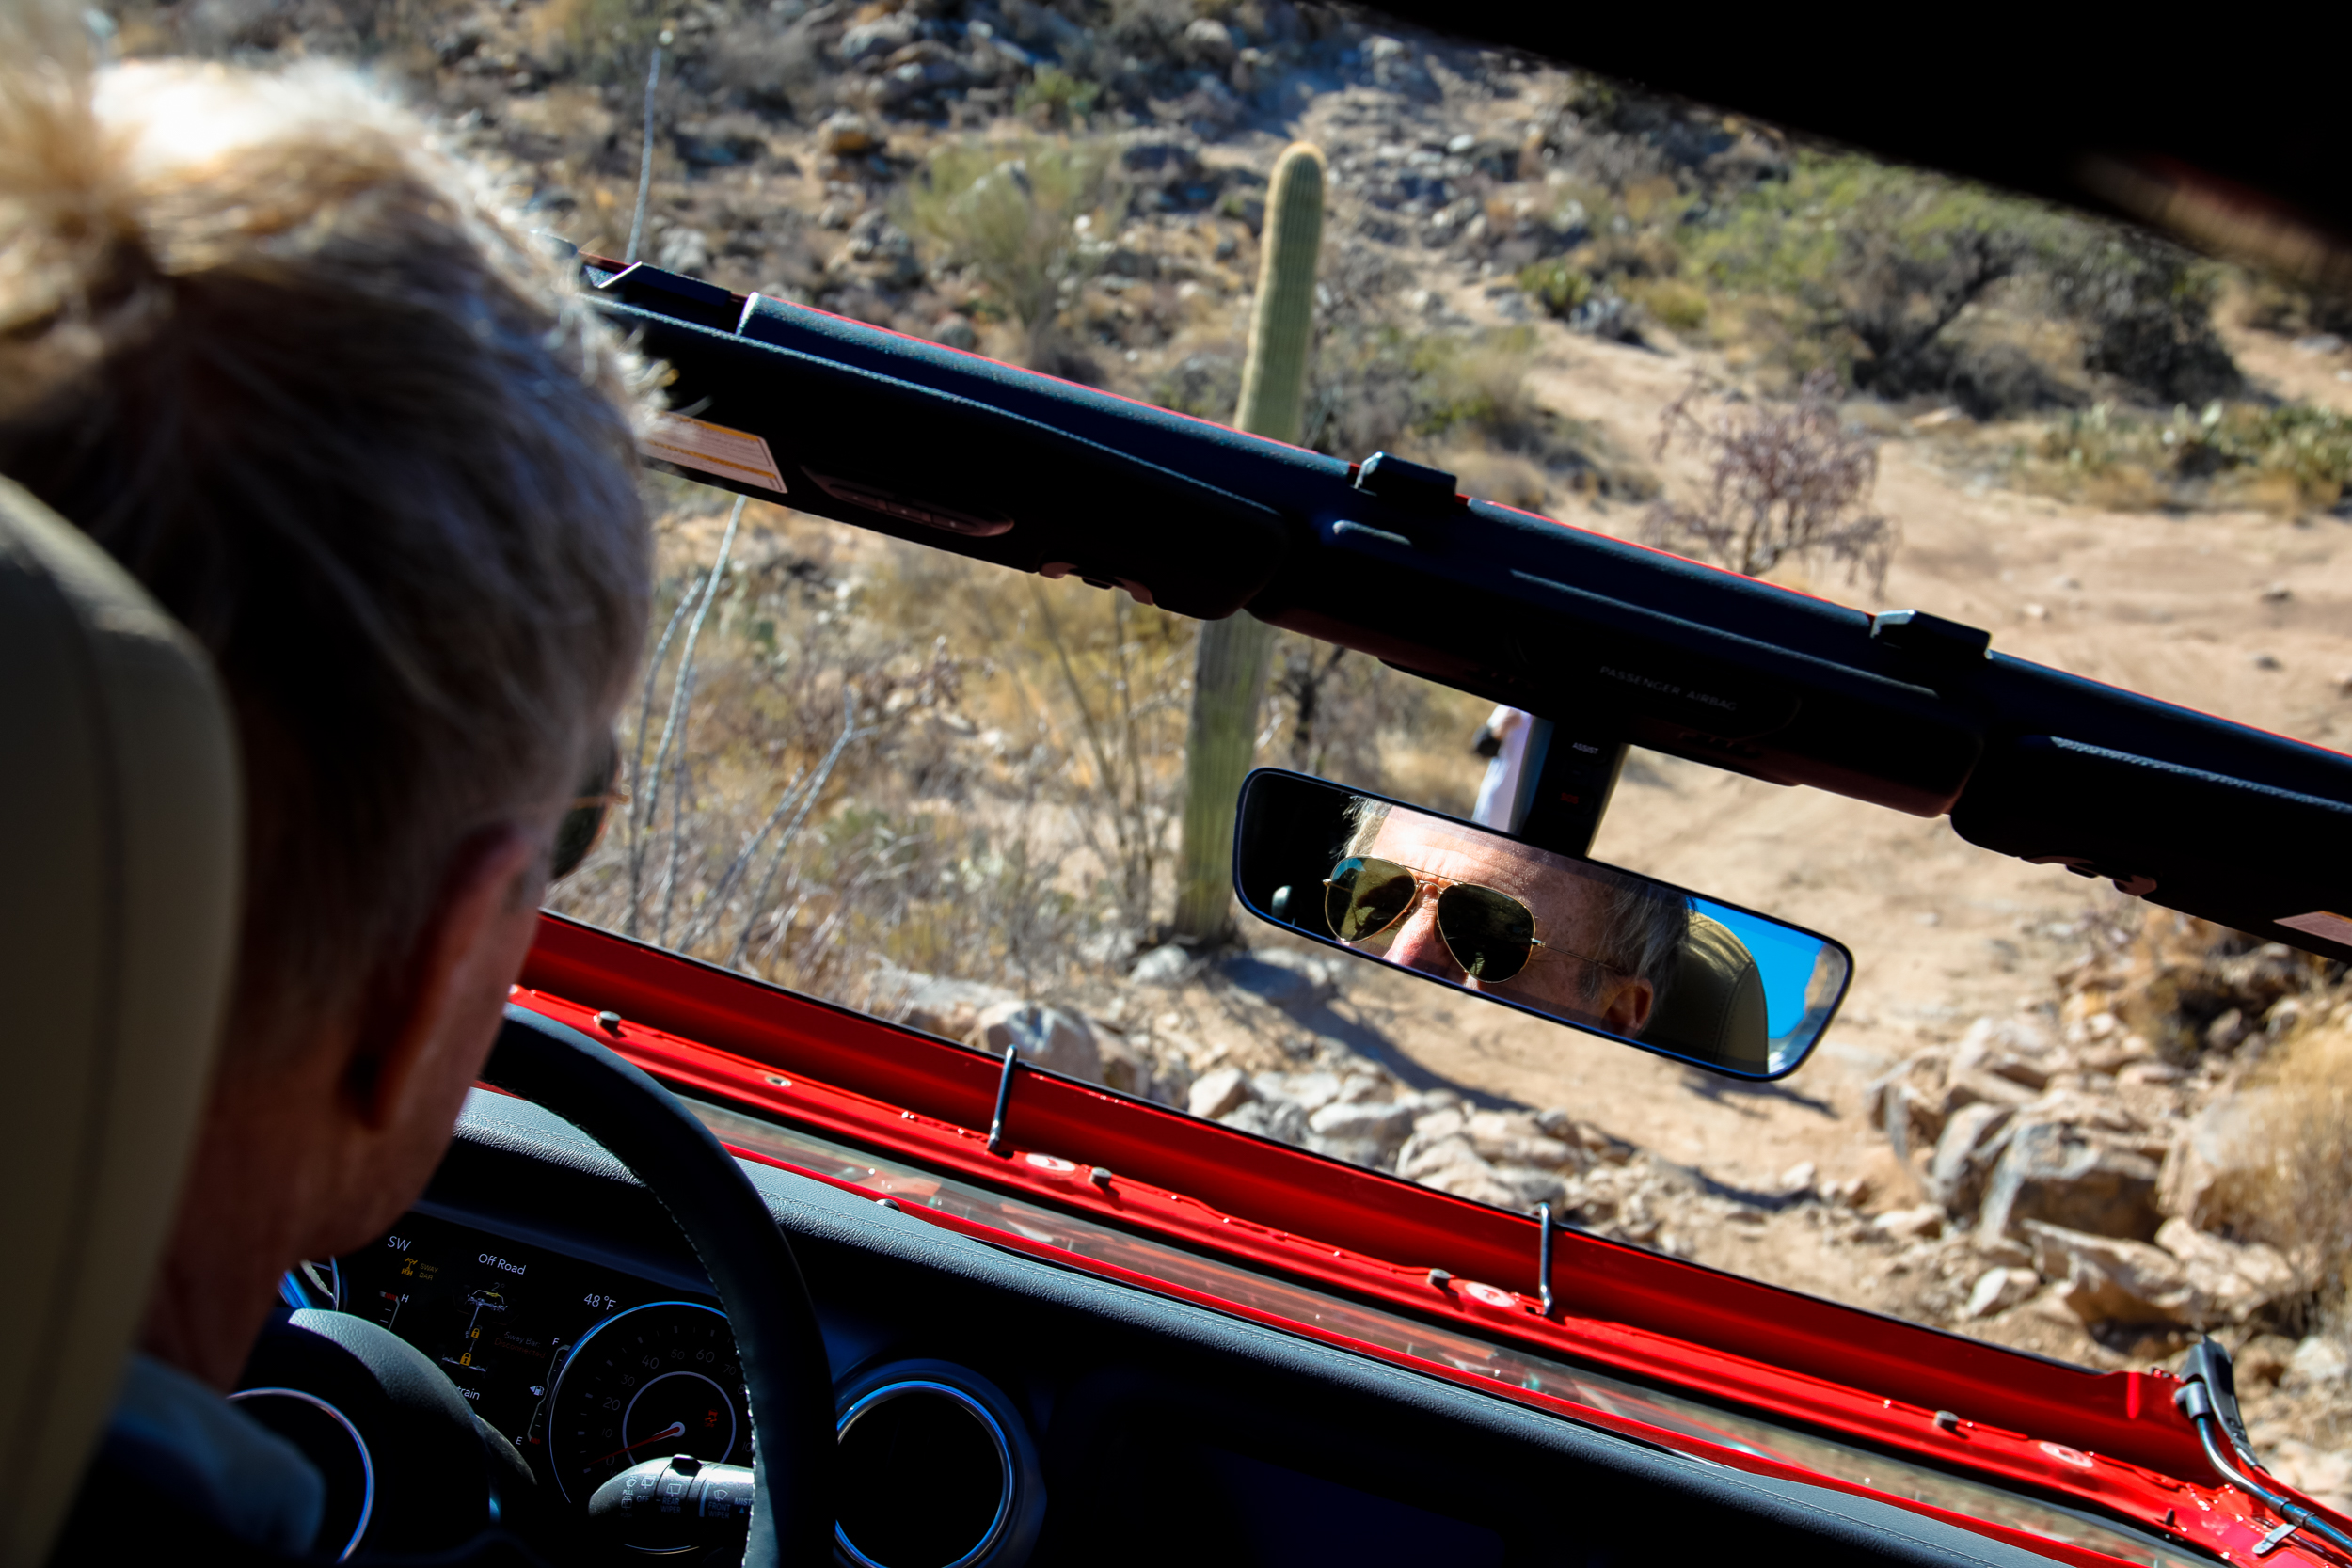
And in a very real sense the engineers were telling the truth—it’s just that they were referring to traction on, say, a 30-degree hillclimb studded with boulders the size of engine blocks. Which is where I found myself, with FCA’s Scott Brown in the passenger seat, in an arrest-me-if-you-can-follow-me-red two-door Rubicon, top removed and windshield folded down. The eight-speed auto box was manually selected to first in low range, anti-roll bar disconnected, and both diffs locked. I noted with approval that (along with the anti-roll bar switch) the JL’s diff-lock selector has been moved to the center of the dash for easy access (in a bright red escutcheon to boot), and hugely simplified from the JK’s: Push down for rear lock, up for front and rear. Amazingly, the new electrohydraulic power steering gave me zero indication that the front wheels were rigidly joined; normally a locked front diff firms up even power steering noticeably.
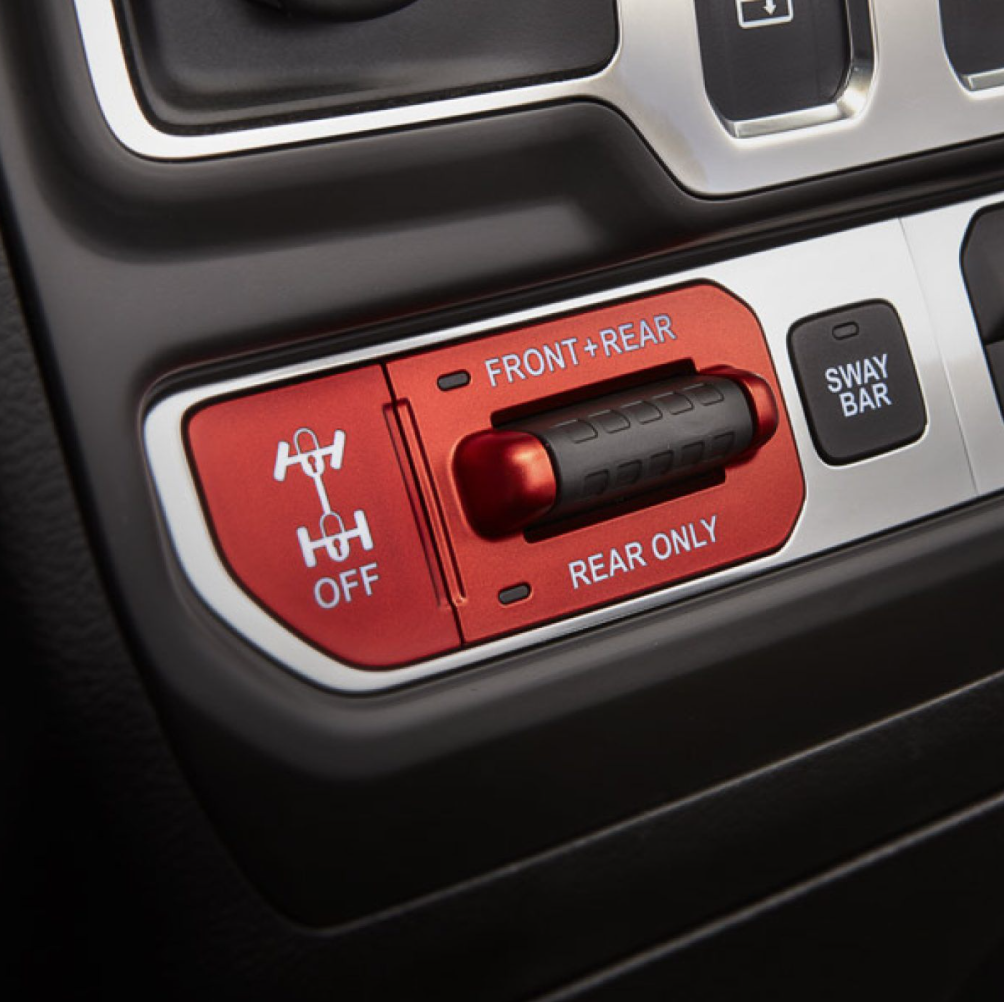
Much-simplified diff-lock control. "Sway bar" button disconects front anti-roll-bar.
Through the windshield there was a lot of blue Arizona sky, and spotter Jim Horne’s arms motioning me straight up, and up, and then left across the boulders. Scott and I transitioned from being pressed into our seats to being pressed, respectively, against the center console and driver’s door. The side/down slope was enough to make Scott give a little whoop of excitement, and for me to appreciate the integrated roll cage surrounding us. The Jeep, of course, was loafing, idling in that 77:1 crawl ratio at half walking speed, each BFG All-Terrain tenaciously gripping granite (the techs hadn’t even bothered to air them down). A turn right back towards the sky, a pause while Jim wedged an extra rock under the left rear tire, then we were over, and being waved on to the next obstacle by the next spotter. (That particular hill would shortly be closed down for rebuilding after another journalist repeatedly applying too much throttle while ignoring instructions managed to send a bunch of those engine blocks tumbling down the slope.)

Jim Horne guides a Rubicon Unlimited up the hill.
The JL Sahara Matt Scott and I had driven to get to the staging area had impressed me with its capability, and driver-independent traction-control systems are getting better with each generation. But the Rubicon is in a different universe. Even the best ABS-based traction control can’t match the ability to manually lock one or both axle differentials in advance of a limited-traction situation. Flip that center toggle switch upward in the Rubicon and you have Four. Wheel. Drive. Period. Combine that with the disconnectable front anti-roll bar, which hugely increases compliance—and comfort—on a rough trail, and a crawl ratio slow enough to let you watch cactus grow on your way past, plus excellent approach and departure angles (44º and 37º), standard BFG All-Terrains, etc. etc., and you have a vehicle unmatched by anything in its class in terms of backcountry capability—either in the U.S. or the rest of the world.
That much capability necessitates a strong foundation to withstand the stresses involved in powering a 4,300-pound vehicle up a torturous slope. While the JK Rubicon was more than up to the task, the JL raises the bar. The fully boxed chassis now employs 80 percent high-strength steel, with five boxed crossmembers. Torsional rigidity is up by 18 percent, yet, the factory claims, weight is down by 100 pounds. The next-generation Dana 44 axles have been improved as well: The front axle tubes are 10 percent larger in diameter, 14 percent thicker, and twice as strong as the previous versions. End forgings on the Rubicon are 11 percent stronger. Components no driver could ever notice have been studied, critiqued, and tweaked.

FCA's Scott Brown rides along. Matt Scott photo.
FCA’s introduction and their excellent driving course left little doubt that the JL Rubicon is everything the JK Rubicon was, and more. (Some might see the move from BFG Mud-Terrains to All-Terrains as a retrograde step, but it’s not. In a majority of situations not involving mud, ATs are the equal of if not superior to MTs. And the new tires certainly help reduce road noise, and definitely bump fuel economy.) So the Rubicon’s bona fides for competency in extremely rugged terrain remain unmatched by anything in its class. If you’re looking for a vehicle that can serve as a perfectly comfortable daily driver, then be nearly invincible for weekend explorations of any trail you have the skill to drive, it remains the icon.
The question is: If I were considering a Wrangler as an overlanding vehicle—that is, for long-distance, self-sufficient travel on a mixture of paved and dirt roads, with four-wheel drive sections definitely in the mix but little emphasis on difficult passages unless they were unavoidable due to route or weather—and if my funds were not bottomless, which way would I go? I evaluated two approaches, both of them the Unlimited (four-door) body style:
- Go basic and order a Wrangler Sport with suitable options. On FCA’s new Wrangler build site I specced a Sport with the same Pentastar V6 and excellent ZF eight-speed automatic transmission as the Rubicon, the standard black hardtop, Anti-Spin rear diff, all-terrain tires, and a few other relevant bits such as heavy duty electrics (240-amp alternator, 700-amp battery), etc., for $36,305. It would have the simple Command-Trac part-time four-wheel-drive transfer case with ABS-based traction control (which Jeep refers to as a differential brake). To be honest, this system is capable of handling 99 percent of the terrain I have experienced on extended journeys in South America, Australia, and Africa, even completely off-tracks forays into Egypt’s sand seas. (The Anti-Spin diff is designed to seamlessly handle slight differences in cross-axle traction; the more intrusive ABS- based traction control kicks in for more extreme variations.) Jeep lists the cargo capacity if the Sport at a middling 1,000 pounds, not including the driver. (One of the few disappointments of the JL redesign is the lack of a heavier GVWR option. I wonder if the upcoming pickup version will raise this.)
- Finance a bigger chunk and go for the Rubicon. In addition to the drivetrain and suspension features—4:1 transfer case, electric locking differentials front and rear, driver disconnectable front anti-roll bar, 4:11 diff ratios—the Rubicon boasts other standard features not available on the Sport: premium seats, an AC power outlet, a seven-inch touch screen, power heated mirrors, remote keyless entry, plus several premium options. I went through its build list, not going crazy with leather upholstery or any similar spurious extras, but nevertheless equipping it more upscale than the Sport, and came to $48,090. (I could easily have added another $4,000-$5,000 in bling.) Cargo capacity of the Rubicon is even less than the Sport—890 pounds.
Despite the slightly higher GVWR of the Sport, I’m pretty sure that for either vehicle I’d want heavier-duty rear springs and shocks if I planned on traveling with a passenger and a full load of equipment, food, and water. Even a load nearing but not surpassing the factory limit would depress the stock rear springs enough to upset the ride height and headlamp alignment. So that modification would cost about the same for either vehicle. Otherwise, what does one get for the extra $12,000 of the Rubicon besides—let’s not diminish this—the knowledge that anywhere in the world you traveled you would be able to tackle the toughest routes passable by any stock vehicle?
One answer worth considering lies in those next-generation Dana 44 axles, a significant step up in strength and durability from those fitted to the Sport. Note: I absolutely do not think the Sport is under-equipped in that category (as long as you don’t try to cram stupidly oversized tires on it), but the overwhelming priority for an overland vehicle is reliability and durability, and there is no doubt that the Dana 44s would optimize that in a Wrangler.
On the other hand, the higher (i.e. numerically lower) final drive ratio of the Sport—3.45 vs. 4.10—might make for slightly more relaxed freeway cruising at the expense of low-range crawling. However, with the eight-speed auto transmission on each, and taller tires of the Rubicon, I’m not sure how noticeable this will be, and I did not have a chance to directly compare the two, as I only had access to the Rubicon in the dirt.
Of course the extra comfort (I wouldn’t classify them as “luxury”) items standard or available on the Rubicon would make traveling a bit more relaxing.
In the end—and I hope this doesn’t sound like a copout—I would buy the Rubicon if I had the funds, and be completely happy with the Sport if I did not. In fact, I’d leave for a trans-Africa trip in either with no hesitation.
Remembering to pack carefully, of course.
Thanks for the photos, Matt!
Hint: When using “Search,” if nothing comes up, reload the page, this usually works. Also, our “Comment” button is on strike thanks to Squarespace, which is proving to be difficult to use! Please email me with comments!
Overland Tech & Travel brings you in-depth overland equipment tests, reviews, news, travel tips, & stories from the best overlanding experts on the planet. Follow or subscribe (below) to keep up to date.
Have a question for Jonathan? Send him an email [click here].
SUBSCRIBE
CLICK HERE to subscribe to Jonathan’s email list; we send once or twice a month, usually Sunday morning for your weekend reading pleasure.


Overland Tech and Travel is curated by Jonathan Hanson, co-founder and former co-owner of the Overland Expo. Jonathan segued from a misspent youth almost directly into a misspent adulthood, cleverly sidestepping any chance of a normal career track or a secure retirement by becoming a freelance writer, working for Outside, National Geographic Adventure, and nearly two dozen other publications. He co-founded Overland Journal in 2007 and was its executive editor until 2011, when he left and sold his shares in the company. His travels encompass explorations on land and sea on six continents, by foot, bicycle, sea kayak, motorcycle, and four-wheel-drive vehicle. He has published a dozen books, several with his wife, Roseann Hanson, gaining several obscure non-cash awards along the way, and is the co-author of the fourth edition of Tom Sheppard's overlanding bible, the Vehicle-dependent Expedition Guide.